Why do we need to decapitate African Violet crowns?
- African Violets need to be decapitated at the crown level when issues with the roots or soil arise.
- This can either be when root rot occurs or when the roots/soil is infested with bugs.
- Sometimes when a new plant is bought from an unknown seller, some buyers will decapitate the African Violet from the crown and start in fresh soil. This is just as a precaution to safeguard against any hitchhiking bugs or disease in the soil.
How to decapitate the African Violet crown?
- Before you start, first place multiple layers of newspaper on your work-area table.
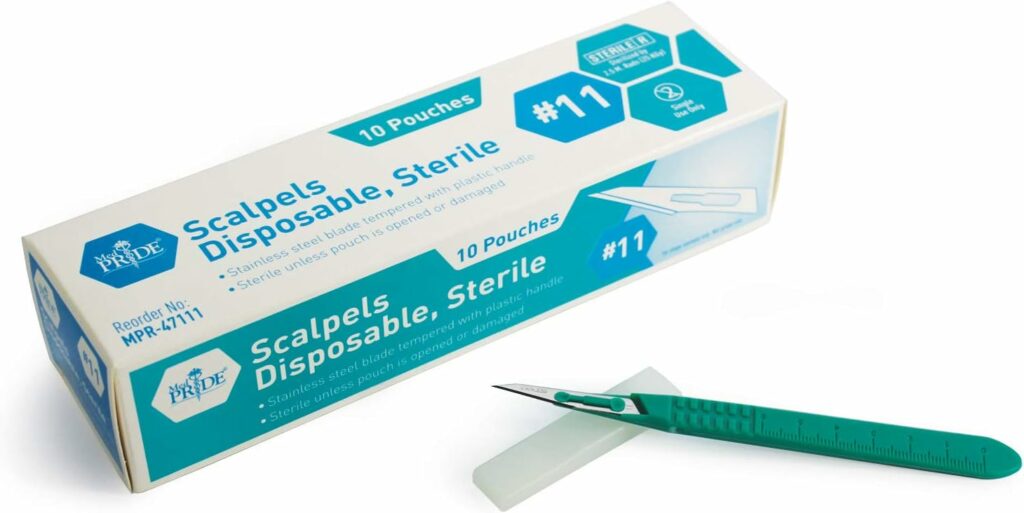
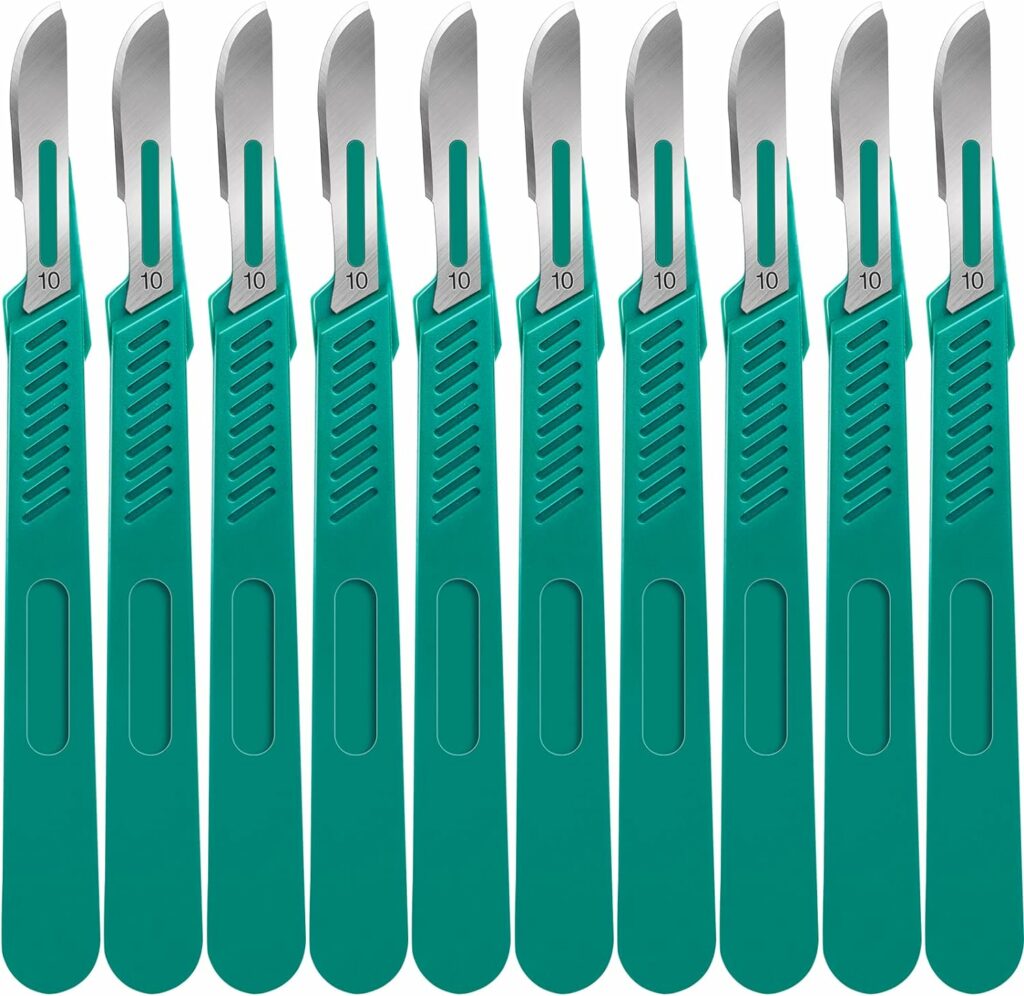
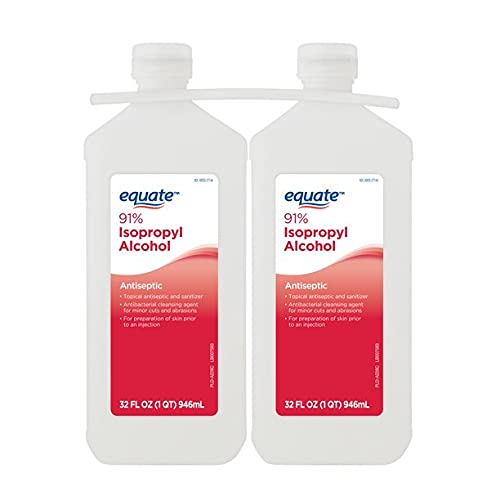
- Then wear clean gloves, lay out your supplies nearby-a small trash bag, a clean scalpel, sucker plucker-optional and a spray bottle of 70% ethanol.
- Spray gloves with ethanol and start working with your first plant.
Example1:
This African Violet plant has developed a soil infestation.

- First we will remove all the outer & middle ring leaves.
- We will leave behind the 4 small-medium center / inner ring of leaves.
- Here we will also leave the center crown- tiny set of 2 leaves too.
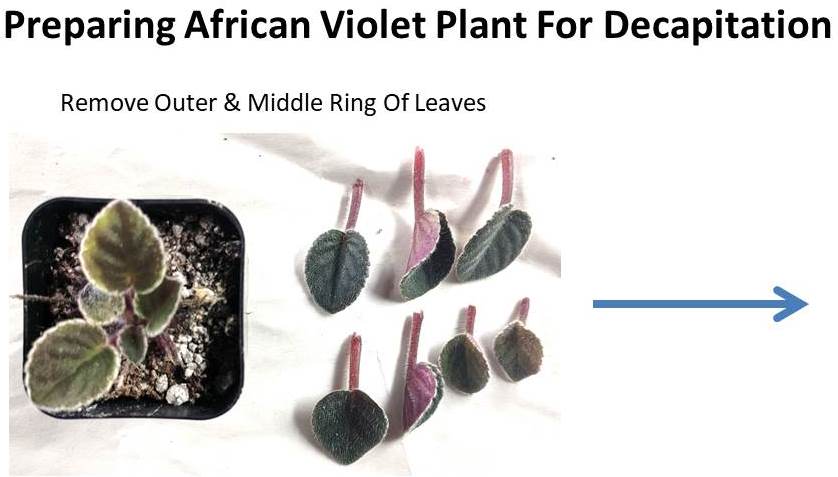
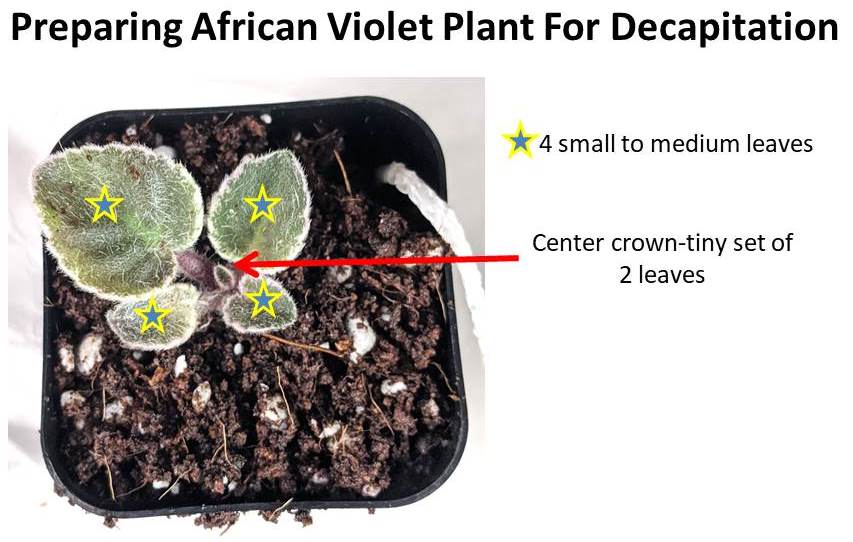
- You can put down the healthy leaves in fresh soil to propagate and produce new babies.
- To learn more about propagating African Violet leaves, can visit, African Violet Leaf Propagation: How to Produce Baby Plantlets?
- Next, remove plant- rootball from the pot.
- Remove all soil and roots from the center crown stem.


- Make sure to gently remove all the soil from the African Violet plant stem.
- If you have an infestation, do this gently to prevent spreading soil everywhere.
- Soil should not touch the leaves also, try to avoid this.
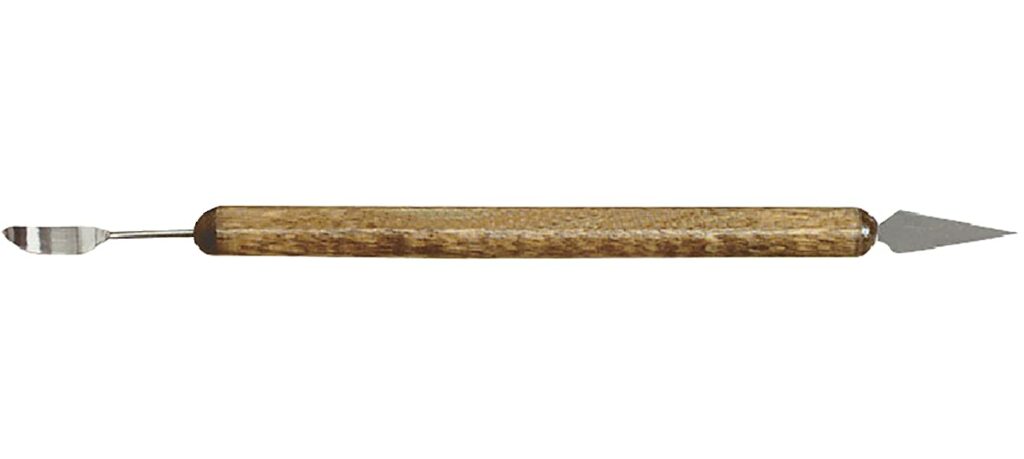
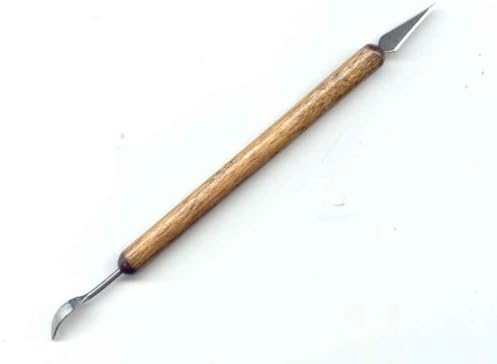
Tool recommendations below, can keep ready while preparing African Violets for decapitation:
- For this particular plant the African Violet crown stem is short and not very long.
- Once soil is removed, clear your bench by wrapping up your old soil in one sheet of paper and put it in trash bag.
- Spray gloves with ethanol again. Air dry.
- Then place your African Violet crown stem plant on a fresh sheet of paper.
- Slice the bottom of the stem, a nice clean vertical cut. There should be 1cm-3cm (0.5inch-1inch) of stem left.
- Now gently scrape the sides of the stem using your fingers or a sucker plucker tool. This is to remove the outer old tissue and any extra soil / roots.

- Since this one was a short stem, I sliced off only a little bit from the bottom.
- Now spray your scalpel with ethanol, allow to air dry.
- Cleaning your tools in between is especially important if you have an infestation.
- Finally slice the bottom part of your scraped stem into a V shape. It should be a pointed V. Please see below.

- Now fill up a new pot with fresh soil and stick the pointed V shaped stem into the soil.
- Place decapitated African Violet plant into a ziploc bag. Keep in bag for 1-2 months. Then open up bag, leave for 2 weeks.
- You can give the plant a little tug after 2 weeks. If it seems firmly rooted / planted in the soil, that means new roots have formed from the crown and it is stable in the soil. You can go ahead and remove your African Violet from the bag.
- If the African Violet plant still seems wobbly or it pulls out easily from the soil, then you can leave it in the opened up bag for a few more weeks. Then it should be safe to remove.
Example 2:
- This African Violet plant has developed root rot.

- Remove all the outer & middle ring leaves, about 8 leaves.
- We will leave behind the 5 small-medium center / inner ring of leaves.
- Here we will also leave the center crown- tiny set of 2 leaves too.

- Remove plant- rootball from the pot.
- Remove all soil and roots from the center crown stem.

- Remove all the soil from the African Violet plant stem.
- Once soil is removed, clear your bench by wrapping up your old soil in one sheet of paper and put it in trash bag. Spray gloves with ethanol again. Air dry.
- Then place your African Violet crown stem plant on a fresh sheet of paper.
- Slice the bottom of the stem, a nice clean vertical cut. There should be 1cm-3cm (0.5inch-1inch) of stem left.
- Now gently scrape the sides of the stem using your fingers or a sucker plucker tool. This is to remove the outer old tissue and any extra soil / roots.

- Since this one was a short stem, I sliced off only a little bit from the bottom.
- Spray your scalpel with ethanol, allow to air dry.
- Finally slice the bottom part of your scraped stem into a V shape. It should be a pointed V. Please see below.

- Fill up a new pot with fresh soil and stick the pointed V shaped stem into this fresh soil.
- Place decapitated African Violet plant into a ziploc bag. Keep in bag for 1-2 months. Then open up bag, leave for 2 weeks.
- You can then place the African Violet plant on your stand.
- After 3 months, this violet was well rooted and started growing back healthy.
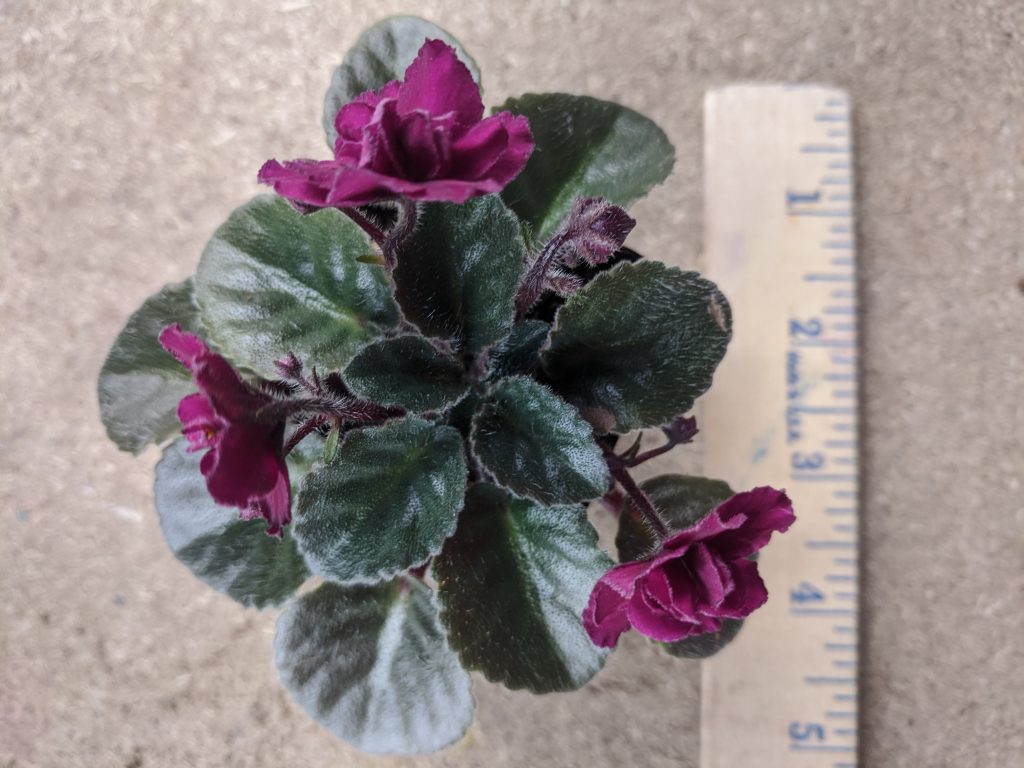
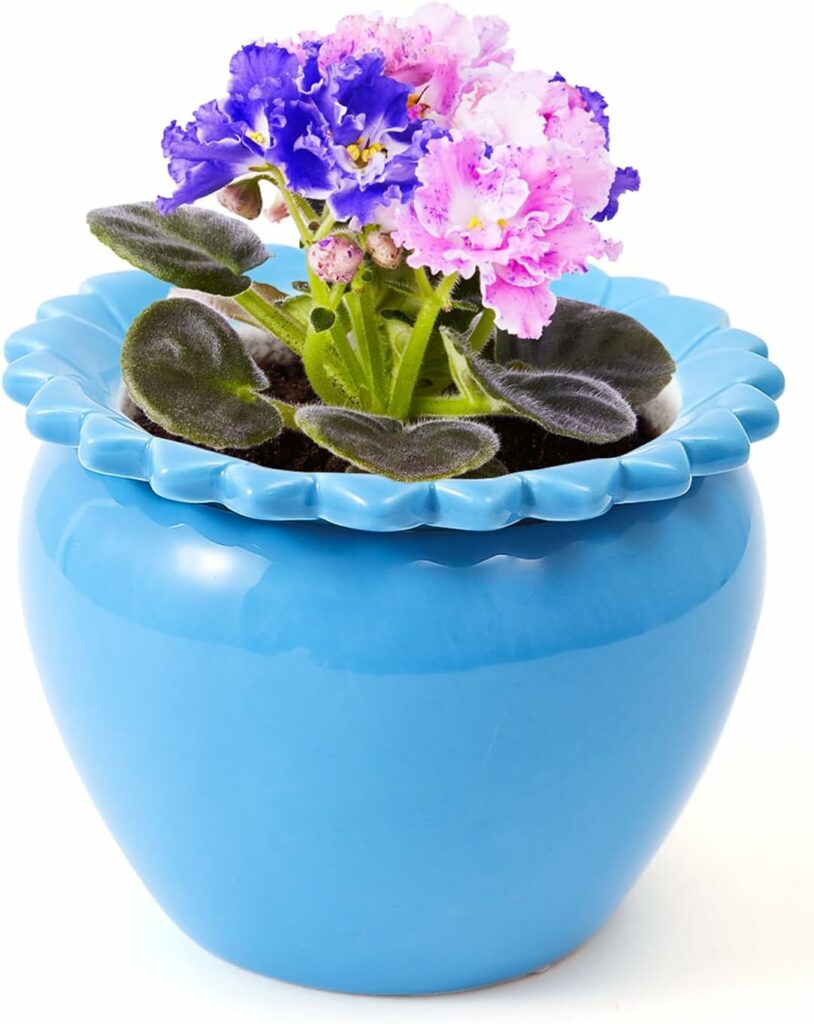
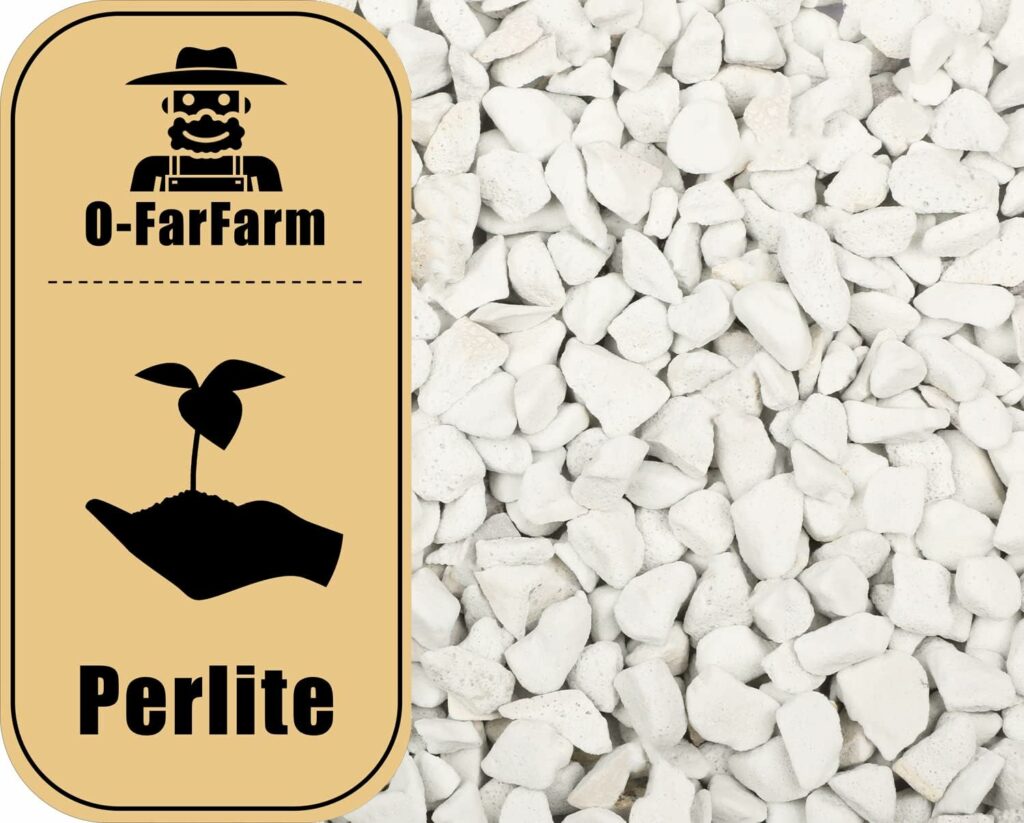
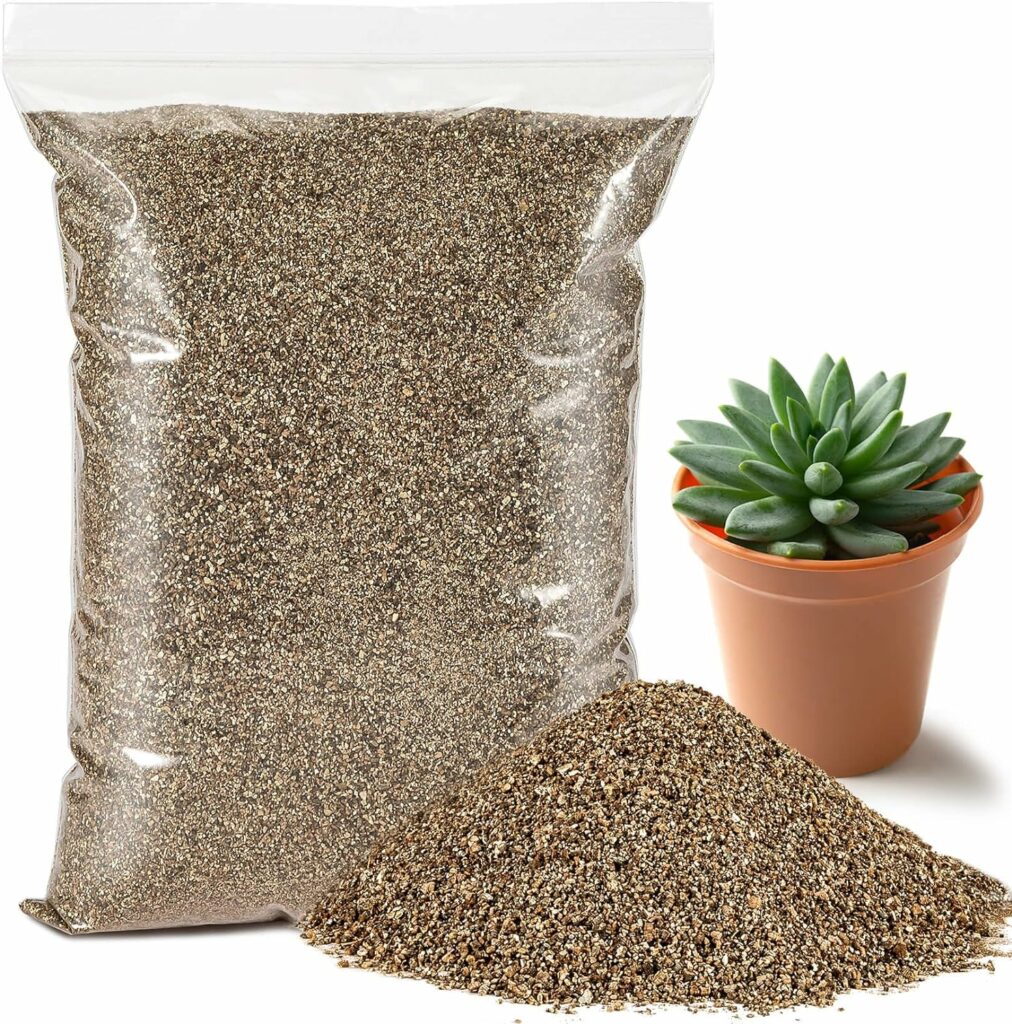
African Violet, perlite and coco coir shown below:
Example 3:
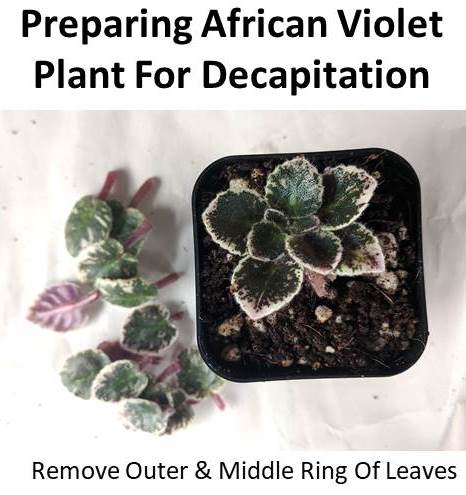
- To start the decapitation process of our African Violet plant, first we will remove all the outer & middle ring leaves.
- This will include 3-4 ring of leaves, totaling around 14 leaves.
- We will leave behind the 5 small-medium center / inner ring of leaves.
- Here we will also leave the center crown- tiny set of 4 leaves too.

- Remove plant- rootball from the pot.
- Remove all soil and roots from the center crown stem.
- Once soil is removed, clear your bench by wrapping up your old soil in one sheet of paper and put it in trash bag.
- Spray gloves with ethanol again. Air dry.
- Then place your African Violet crown stem plant on a fresh sheet of paper.
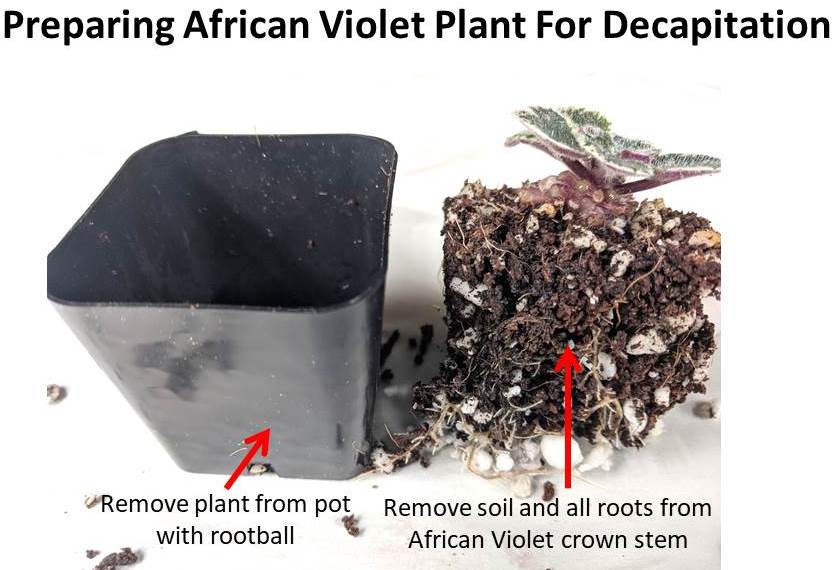
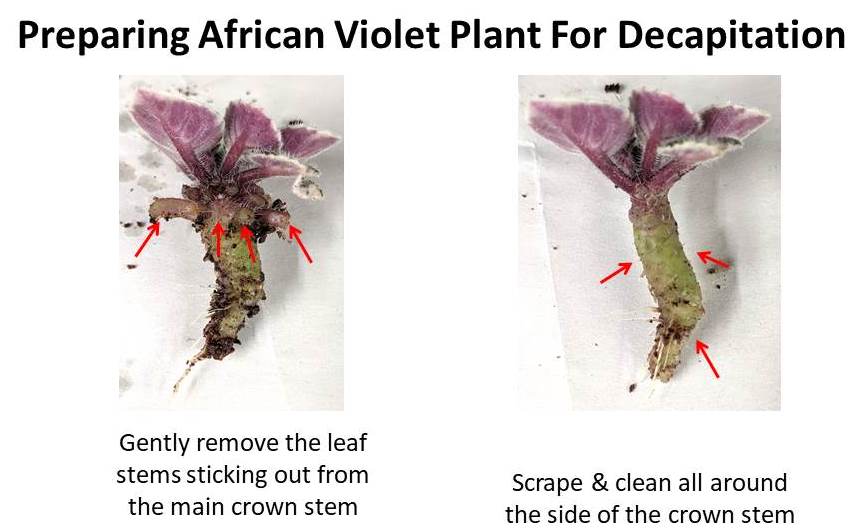
- This African Violet plant, has a long crown stem.
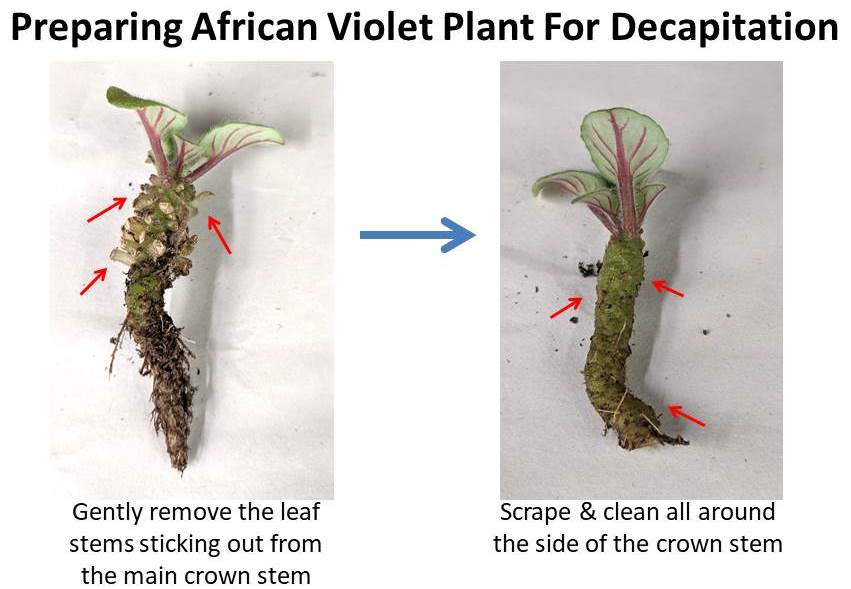
- The stem also has tiny bits of leaf stems sticking out from the base of the crown.
- Carefully remove these leaf stems from the main crown stem. See above.
- Now gently scrape the sides of the stem using your fingers or a sucker plucker tool.
- This is to remove the outer old tissue and any extra soil / roots.
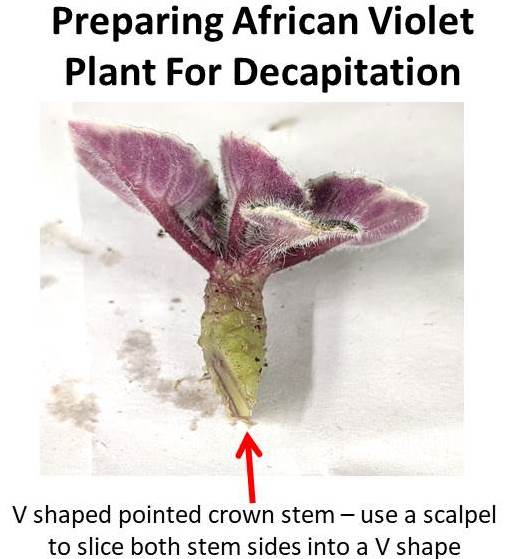
- This crown stem was quite long, so I sliced off 1cm from below. This was a straight vertical cut using a scalpel.
- Spray your scalpel with ethanol, allow to air dry.
- Finally slice the bottom part of your scraped stem into a V shape. It should be a pointed V.
- Fill up a new pot with fresh soil and stick the pointed V shaped stem into this fresh soil.
- After 3 months, this violet was well rooted and started growing back healthy.
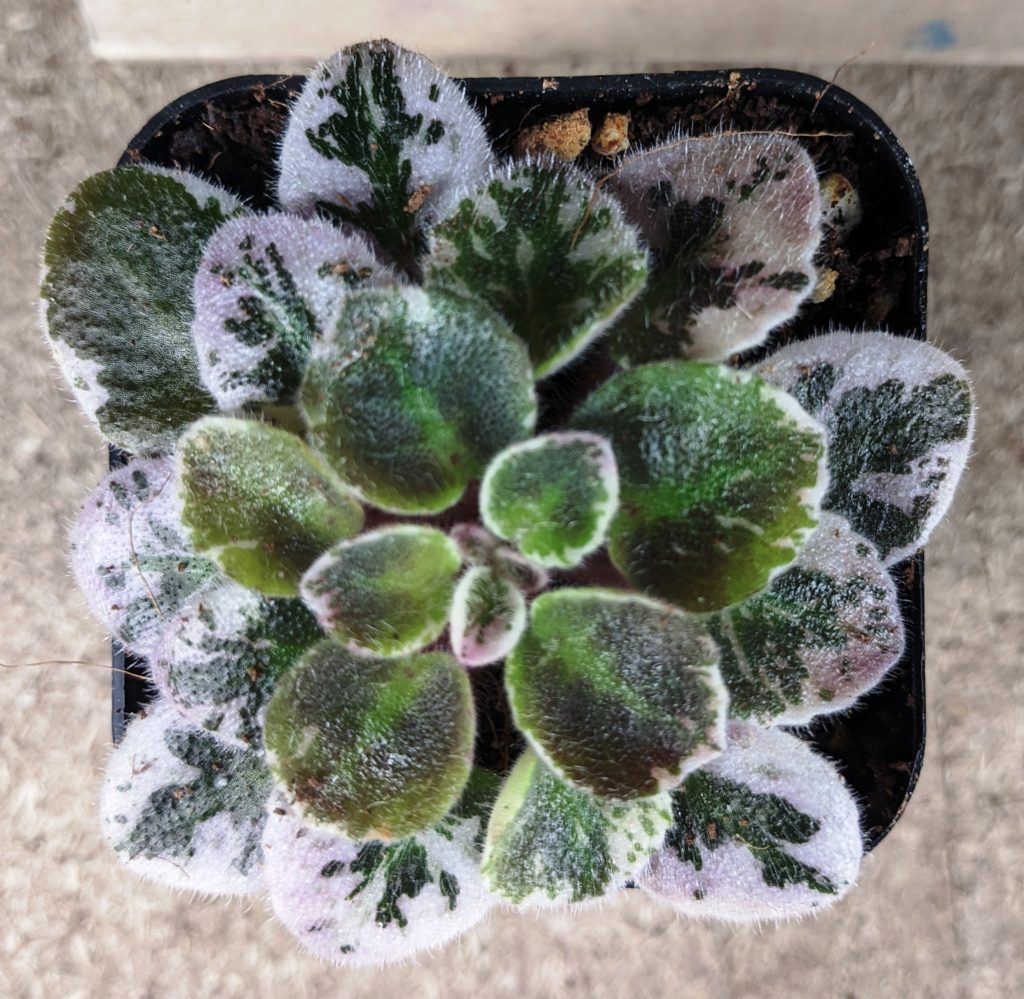
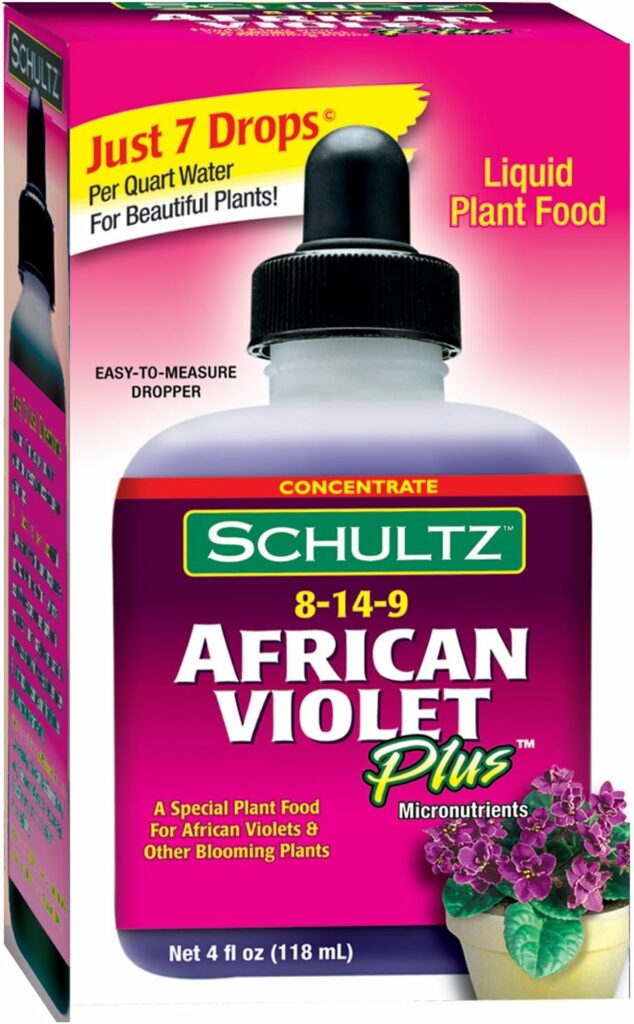
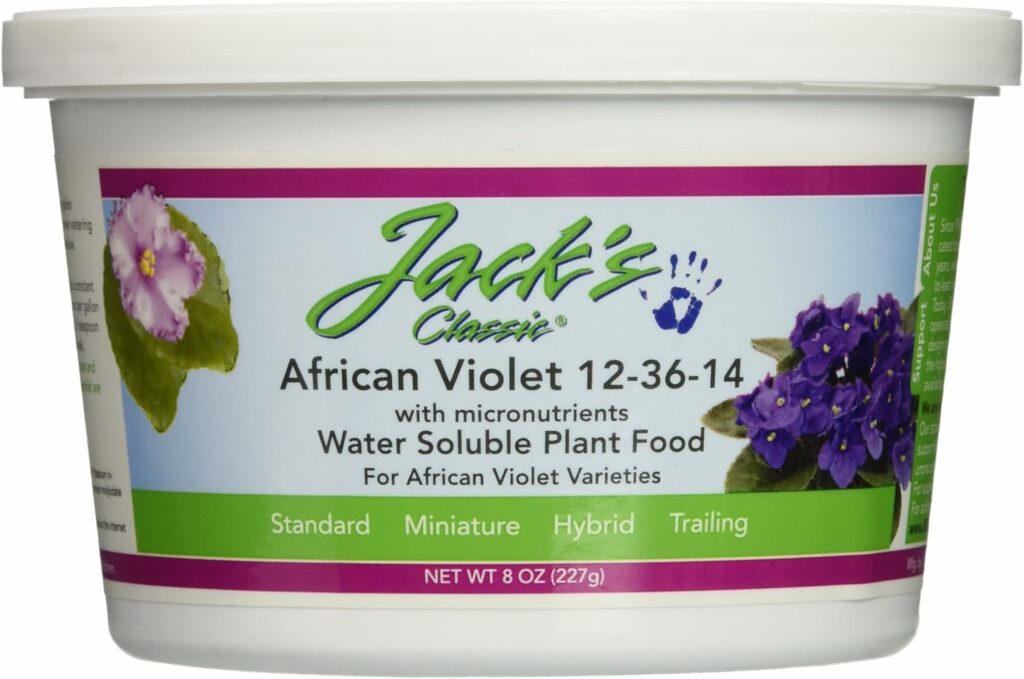
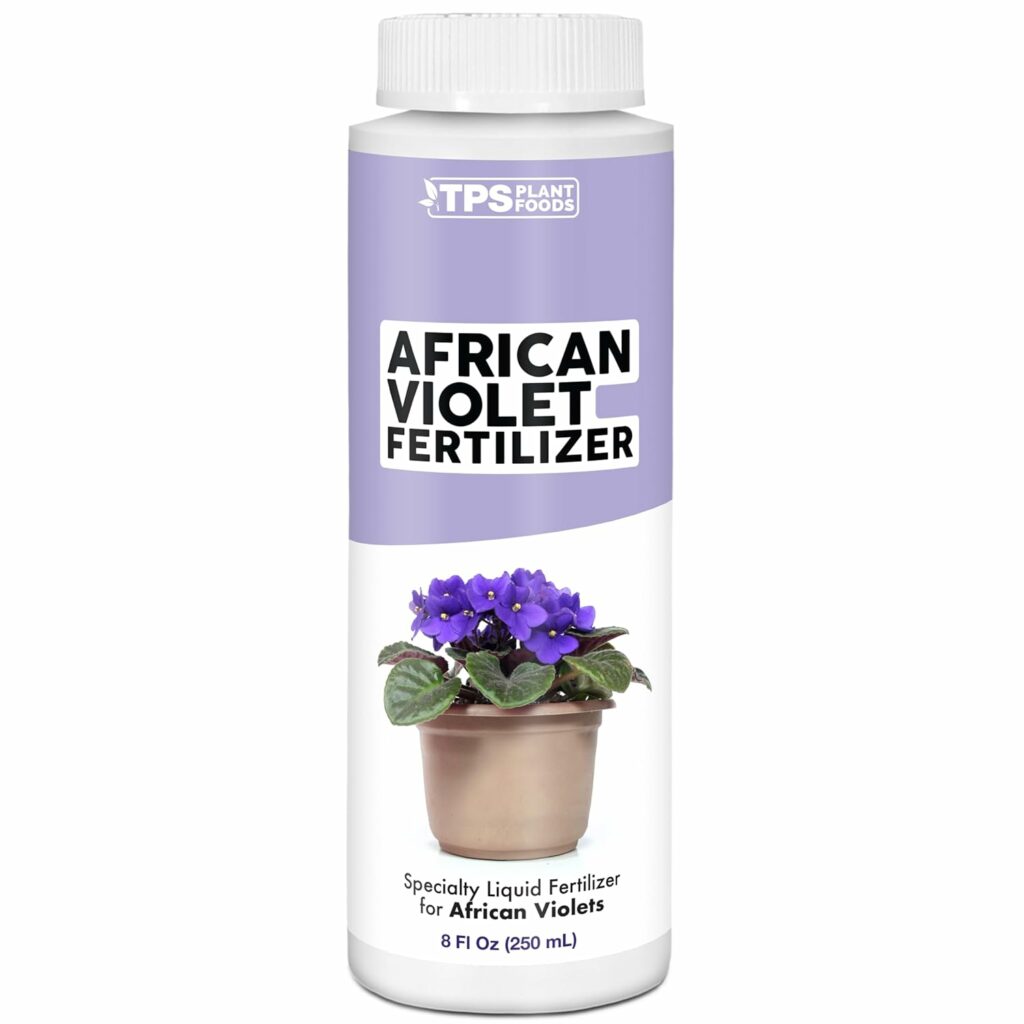
Examples of commercially available African Violet fertilizers below:
Example 4:
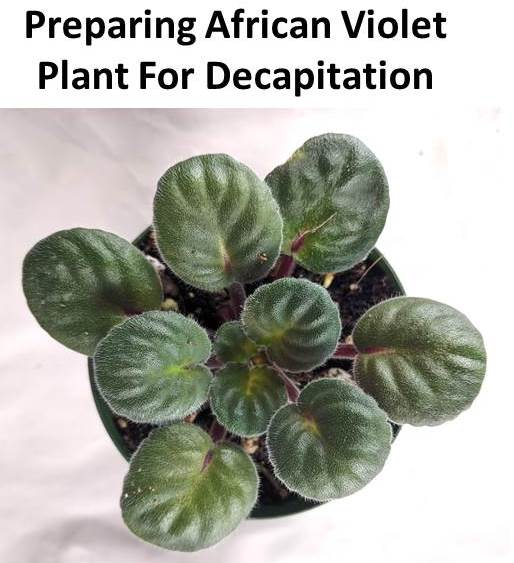
- This is our next African Violet plant.
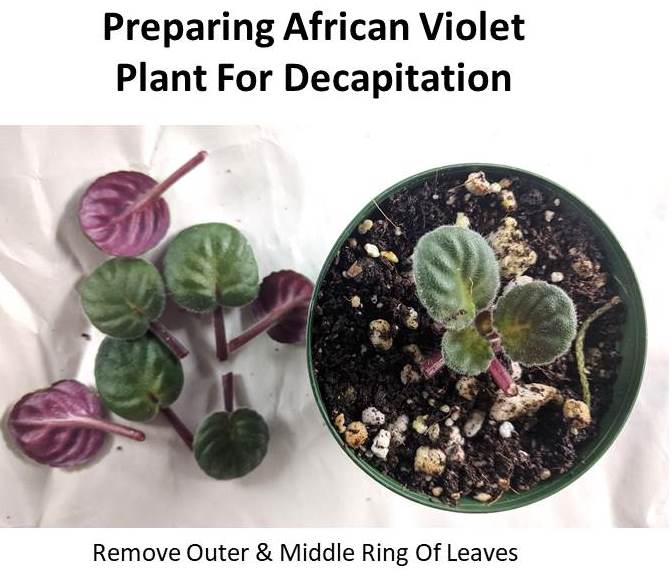
- It is a medium sized plant. First we will remove the 4 outer leaves and the middle 3 leaves.
- We will leave behind the 3 small-medium center / inner ring of leaves.
- Here we will also leave the center crown- tiny set of 2 leaves too.
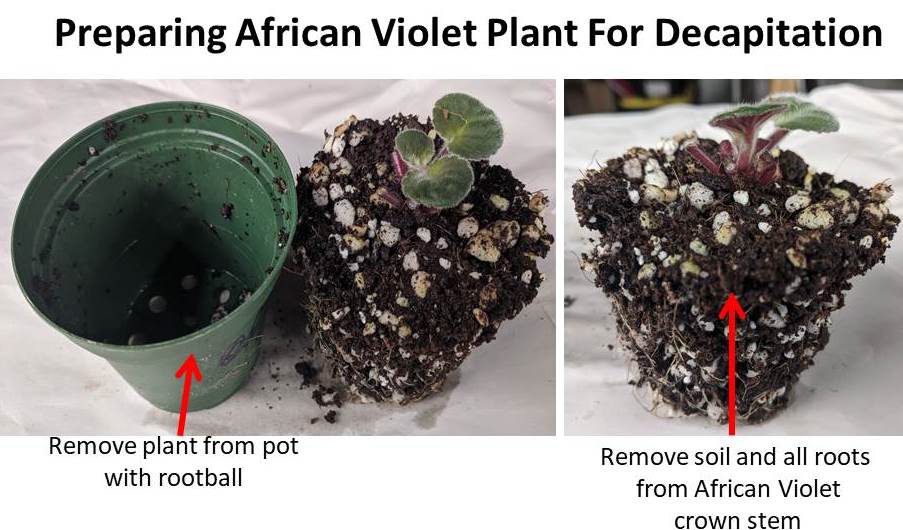
- Remove plant- rootball from the pot.
- Remove all soil and roots from the center crown stem. Once soil is removed, clear your bench by wrapping up your old soil in one sheet of paper and put it in trash bag.
- Spray gloves with ethanol again. Air dry.
- Then place your African Violet crown stem plant on a fresh sheet of paper.
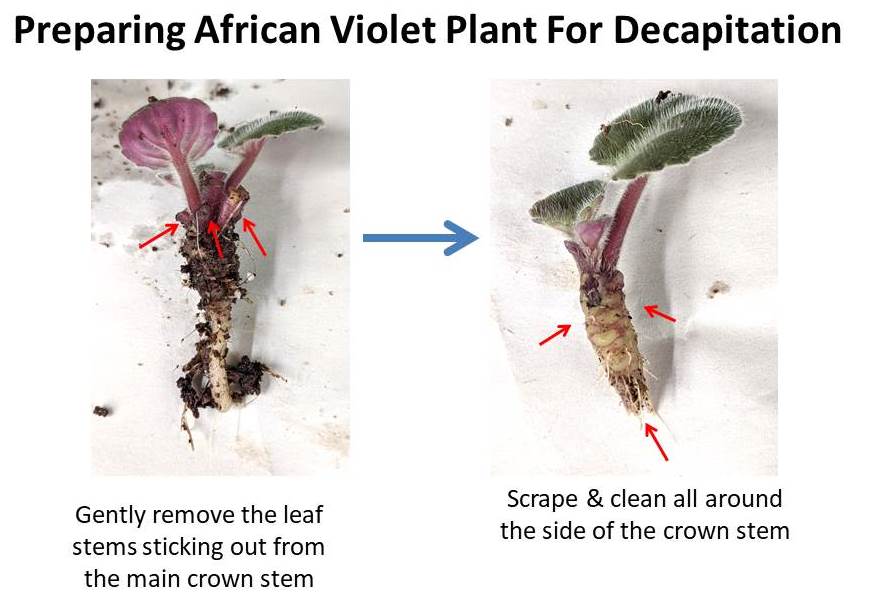
- This African Violet plant, has a medium length crown stem.
- Also, remove the tiny leaf stems from the main crown stem. See above.
- Now gently scrape the sides of the stem using your fingers or a sucker plucker tool. This is to remove the outer old tissue and any extra soil / roots.
- Since the crown stem is not too long, I only sliced the thin end of the stem off. This was a straight vertical cut, using a scalpel.
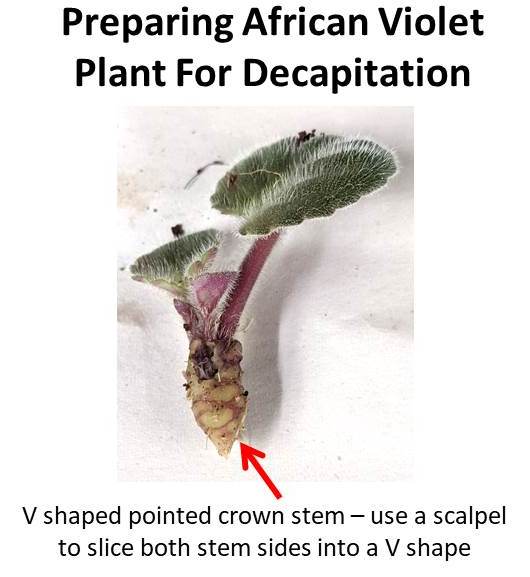
- Spray your scalpel with ethanol, allow to air dry.
- Finally slice the bottom part of your scraped stem into a V shape. It should be a pointed V. See above.
- Fill up a new pot with fresh soil and stick the pointed V shaped stem into this fresh soil.
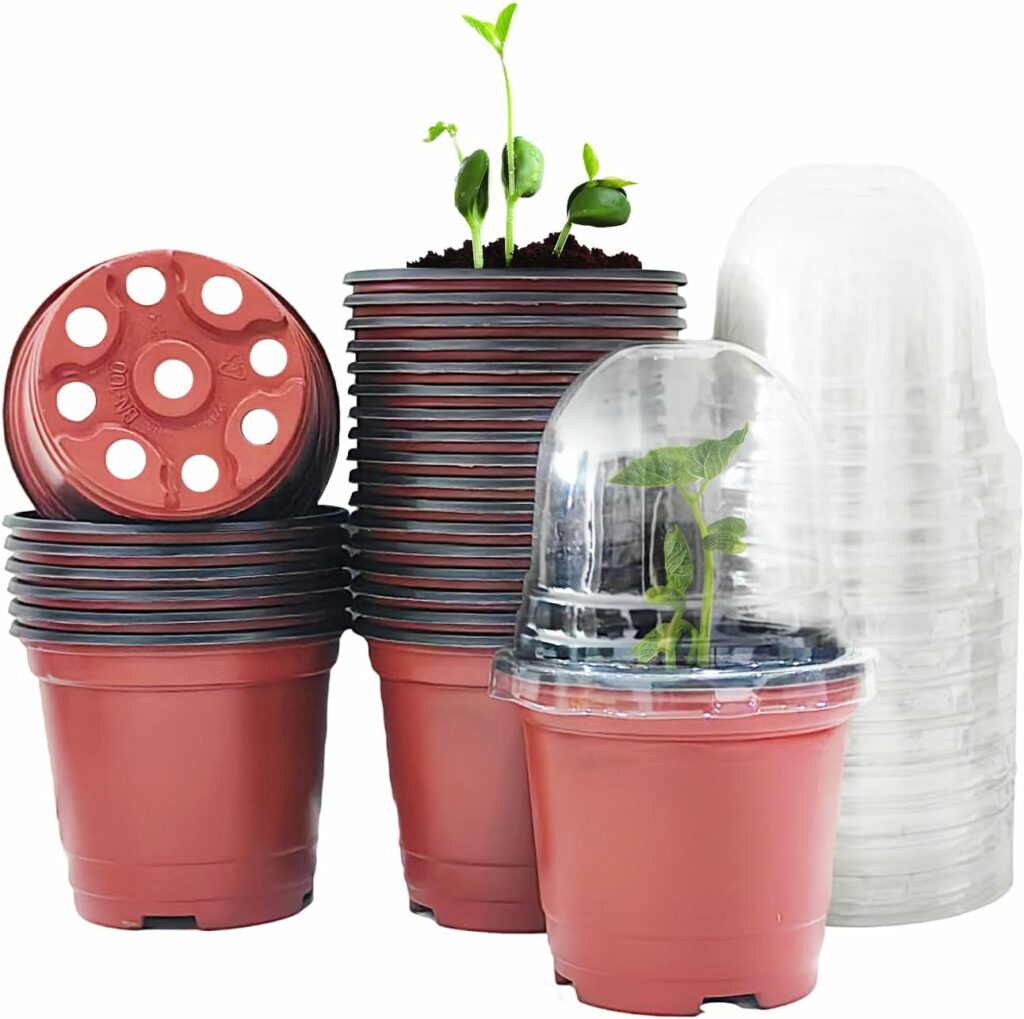
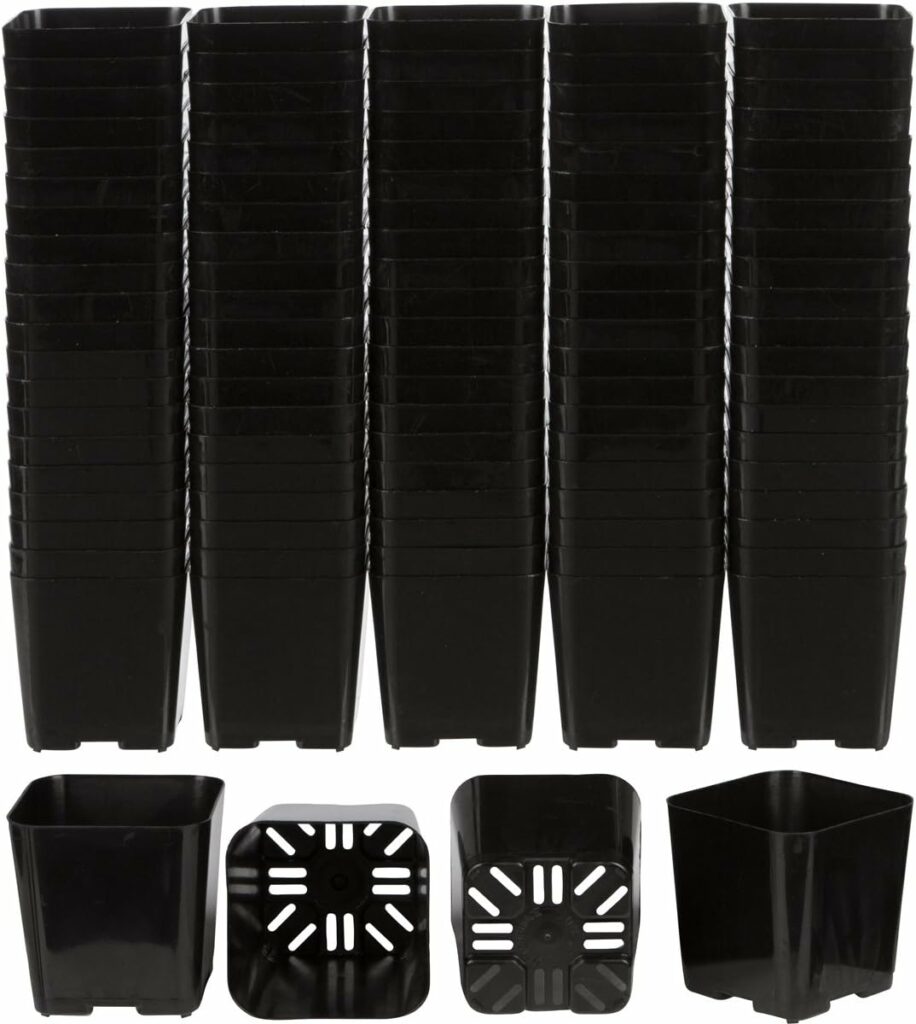
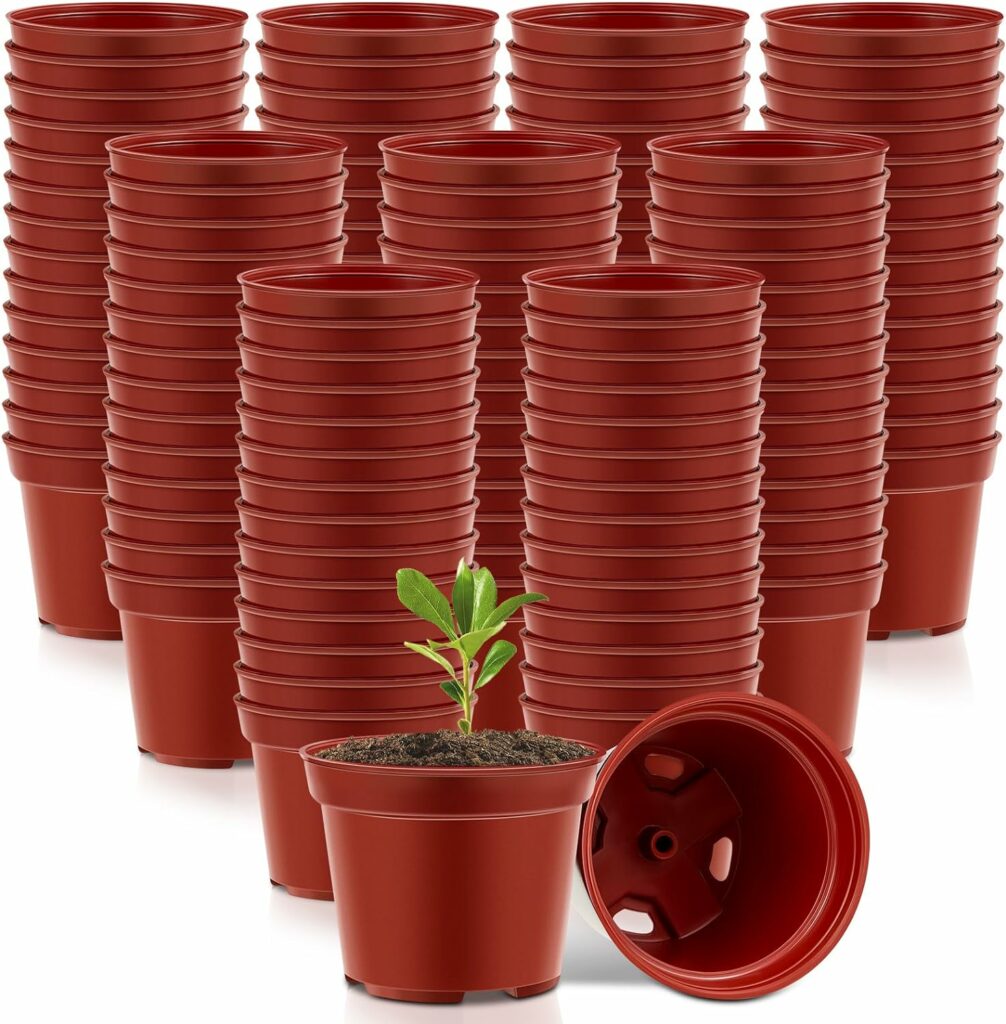
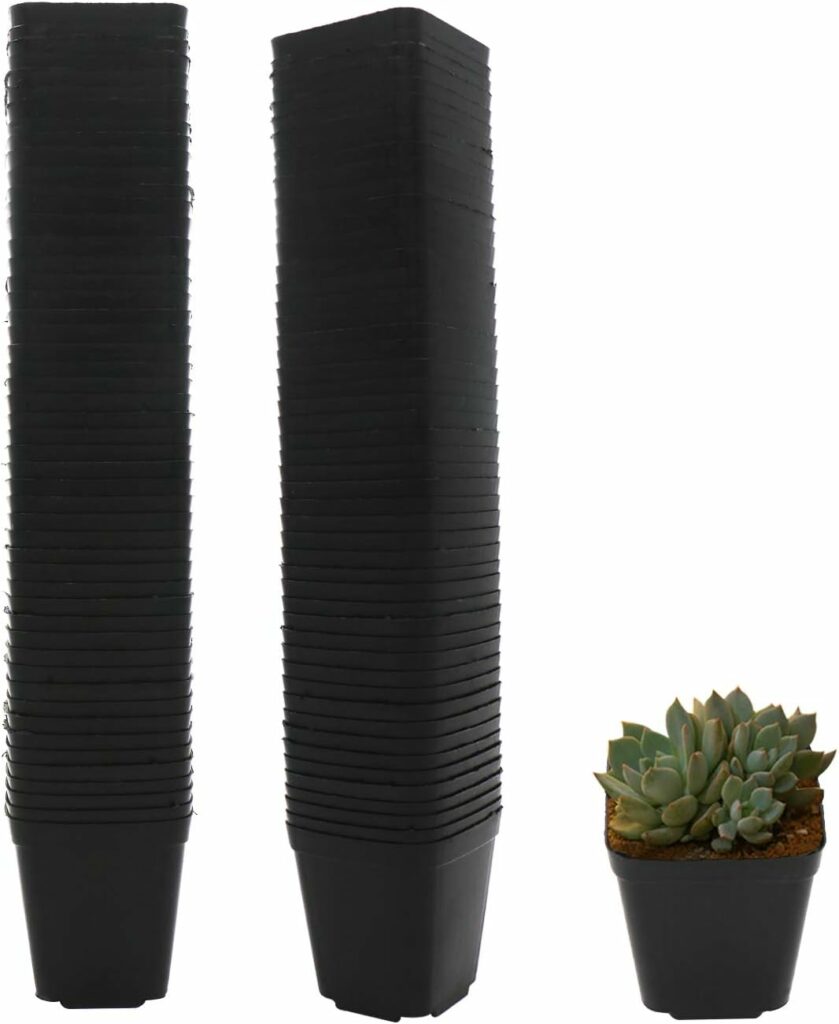
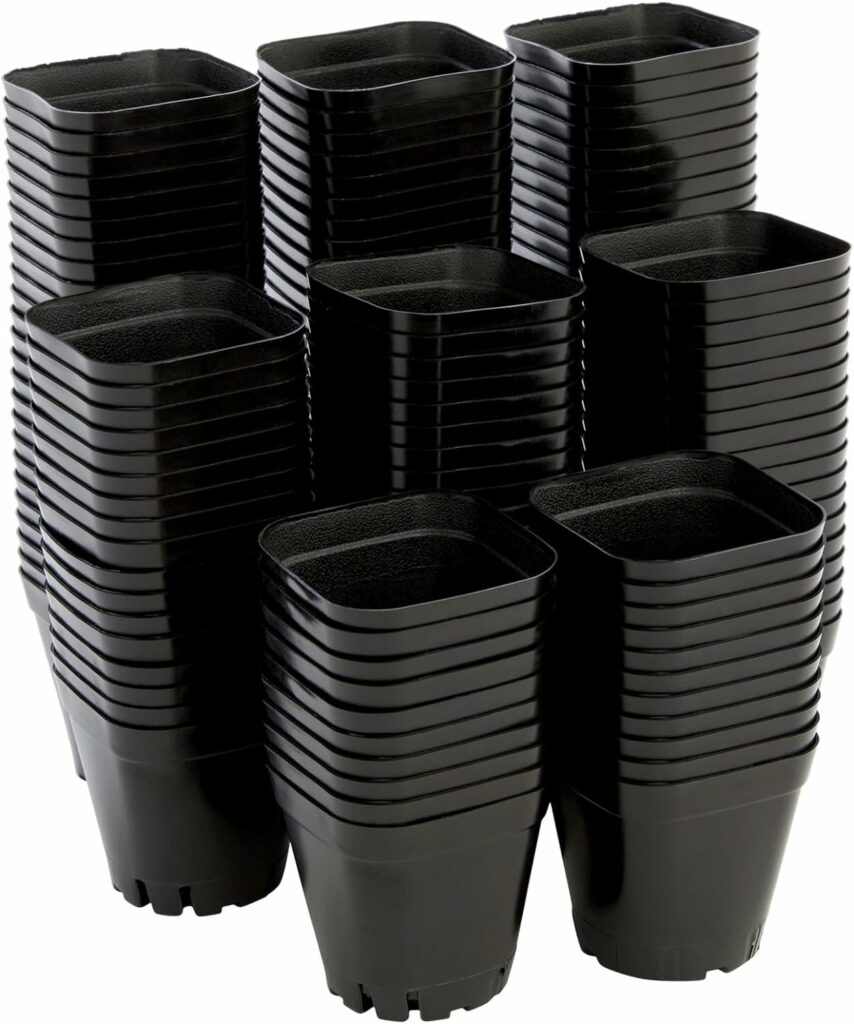
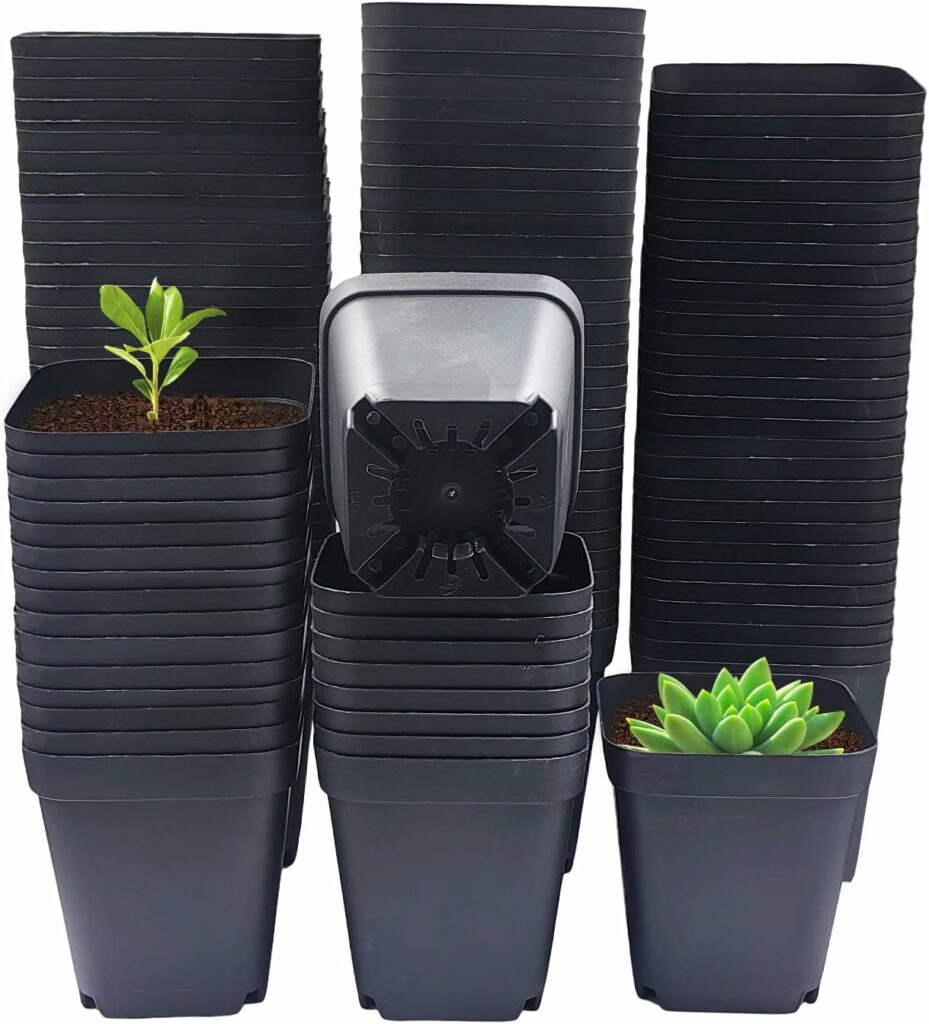
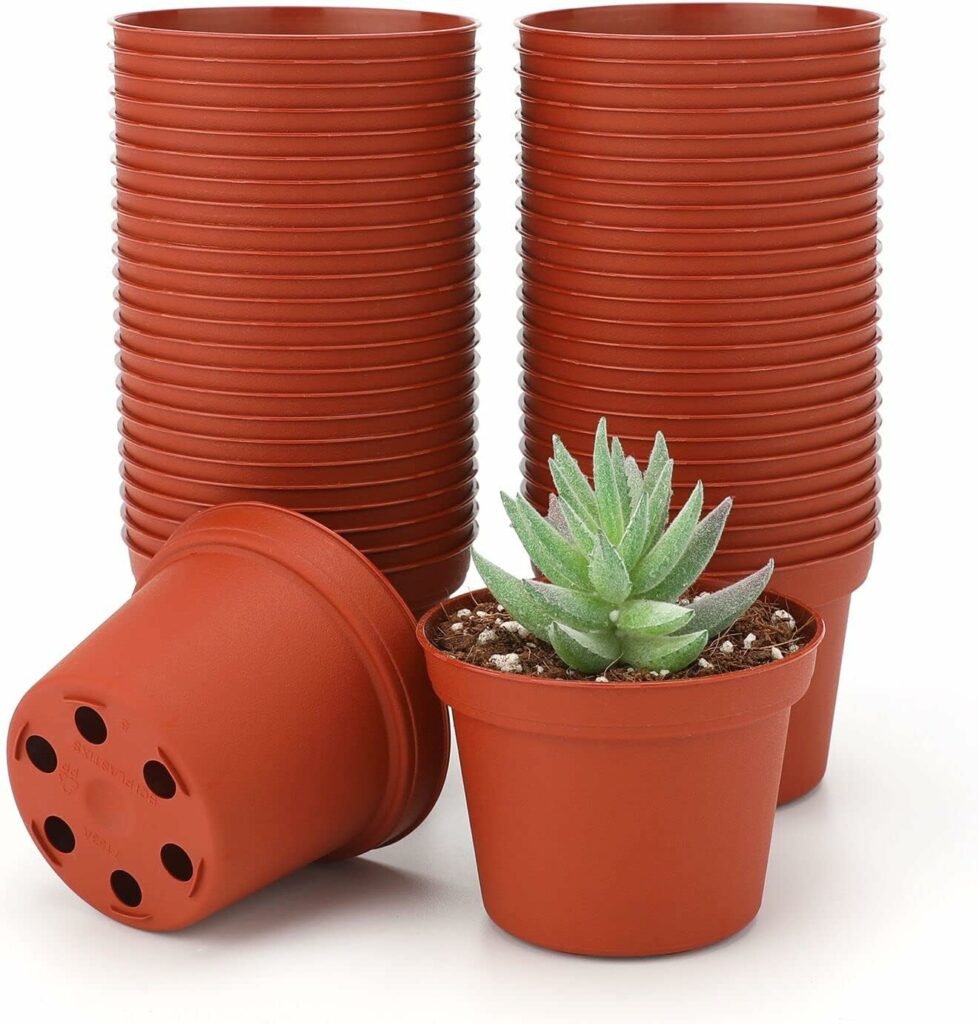
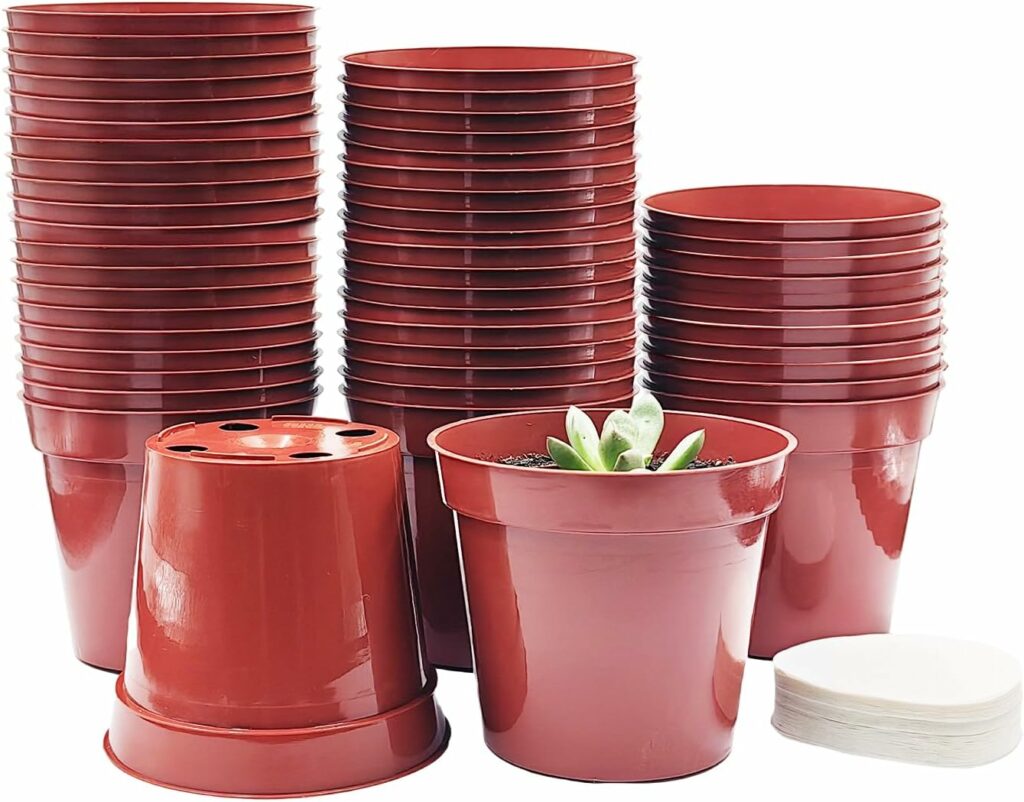
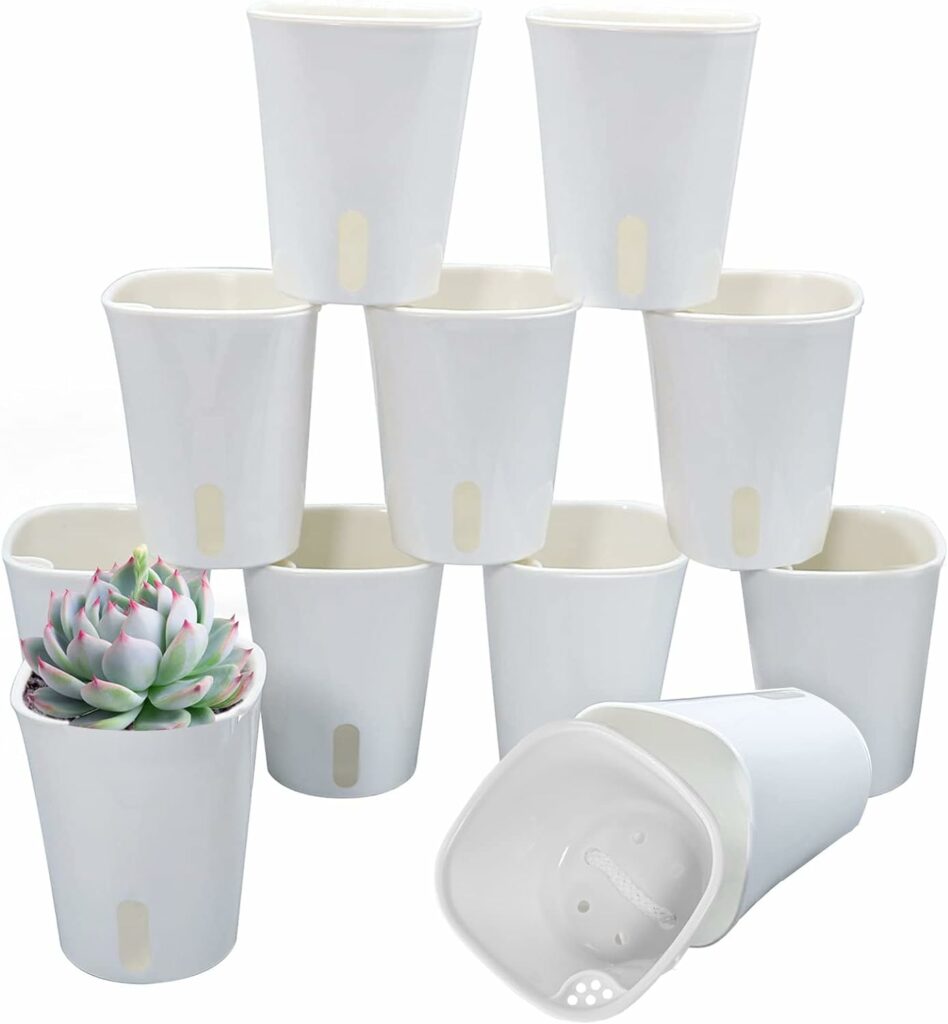
Examples of 2″ & 3″plastic pots, great to keep a few extra in your growing tools:
Example 5:
- This is the plant we will be using to decapitate the African Violet crown stem.
- It has not been growing well, keeps loosing leaves and not growing.
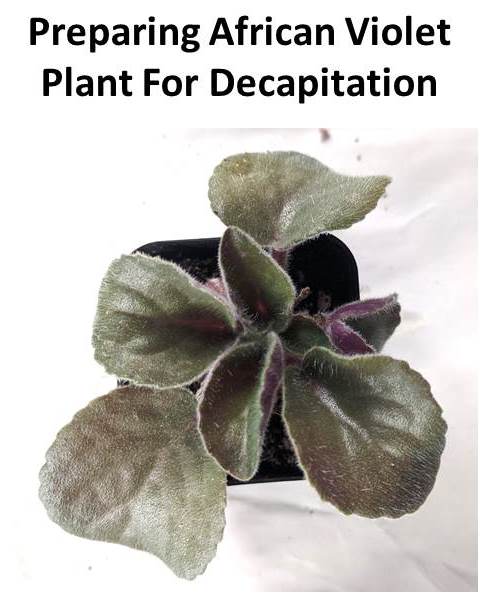
- Go ahead and remove the outer 3-4 leaves.
- Since we only had a few leaves to begin with, leave behind the 2 larger leaves and the center crown 2 leaves.
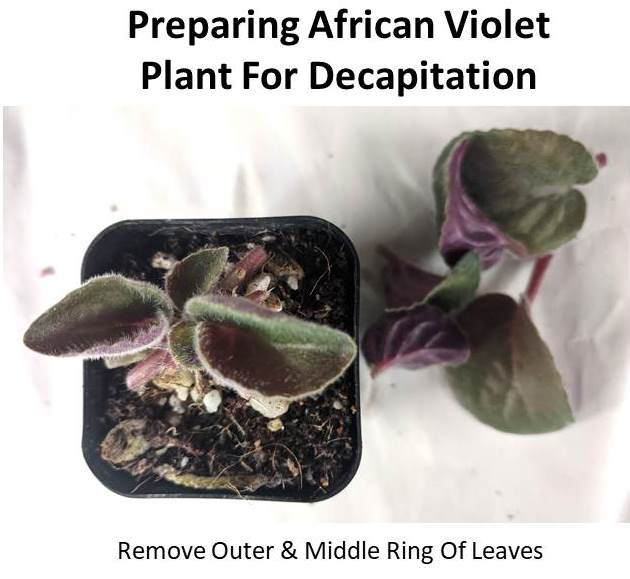
- Remove plant- rootball from the pot.
- Remove all soil and roots from the center crown stem.
- Once soil is removed, clear your bench by wrapping up your old soil in one sheet of paper and put it in trash bag.
- Spray gloves with ethanol again. Air dry.
- Then place your African Violet crown stem plant on a fresh sheet of paper.
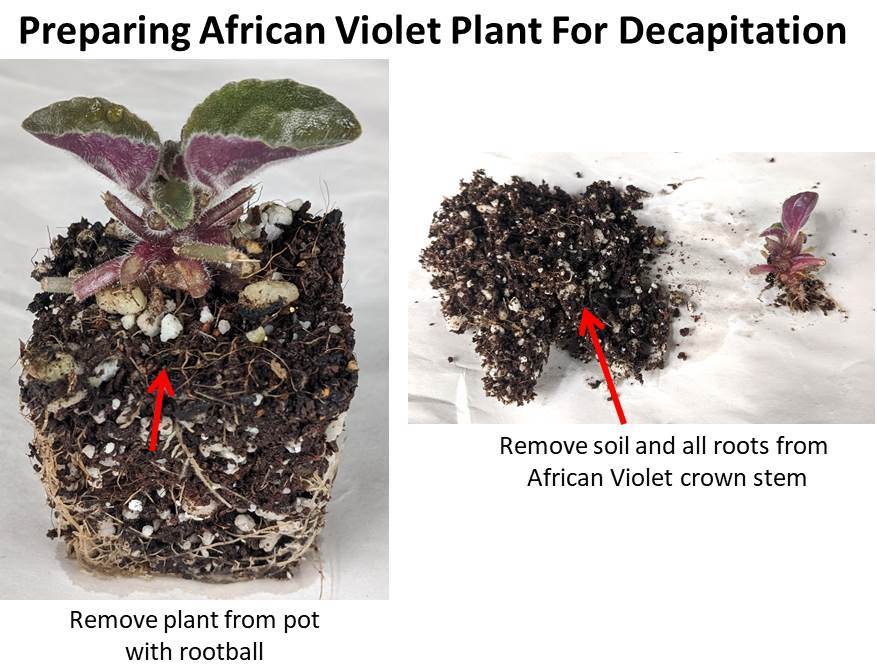
- This African Violet plant, has a small length crown stem.
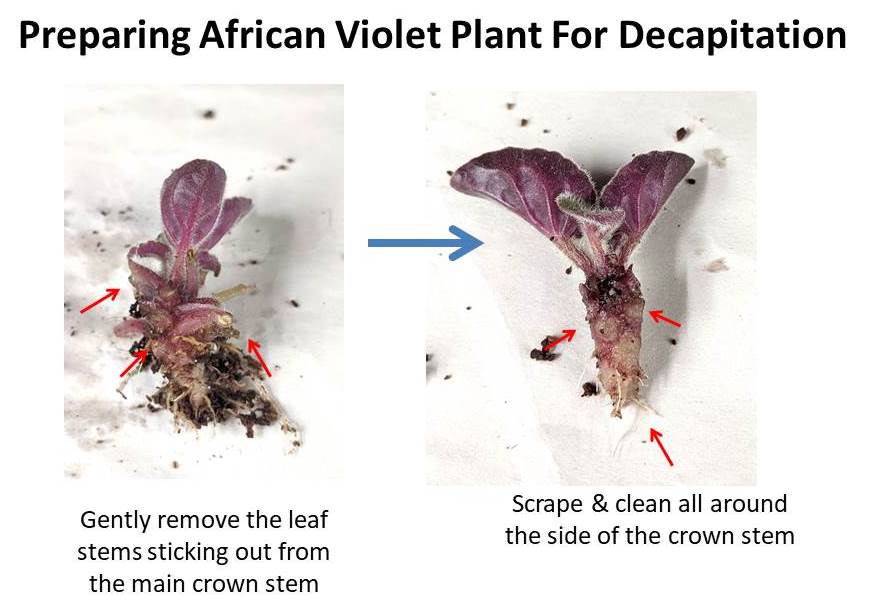
- Also, remove the tiny leaf stems from the main crown stem.
- There are about 8 of these tiny leaf stems. See below.
- Now gently scrape the sides of the stem using your fingers or a sucker plucker tool.
- This is to remove the outer old tissue and any extra soil / roots.
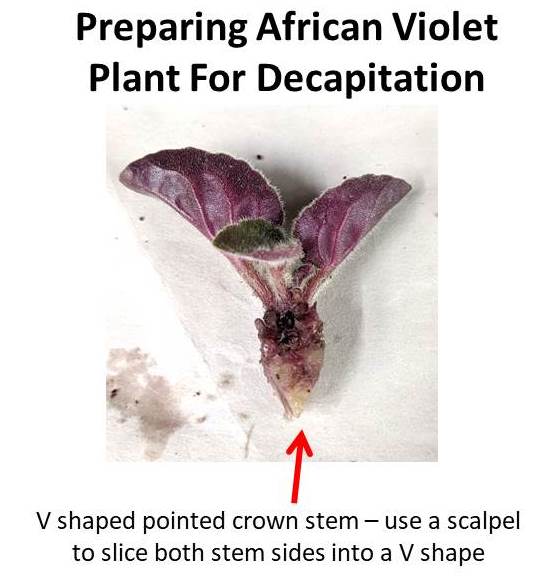
- Since the crown stem is small in length, I did a straight vertical cut at the bottom, using a scalpel.
- Spray your scalpel with ethanol, allow to air dry.
- Finally slice the bottom part of your scraped stem into a V shape. It should be a pointed V. See below.
- Fill up a new pot with fresh soil and stick the pointed V shaped stem into this fresh soil.
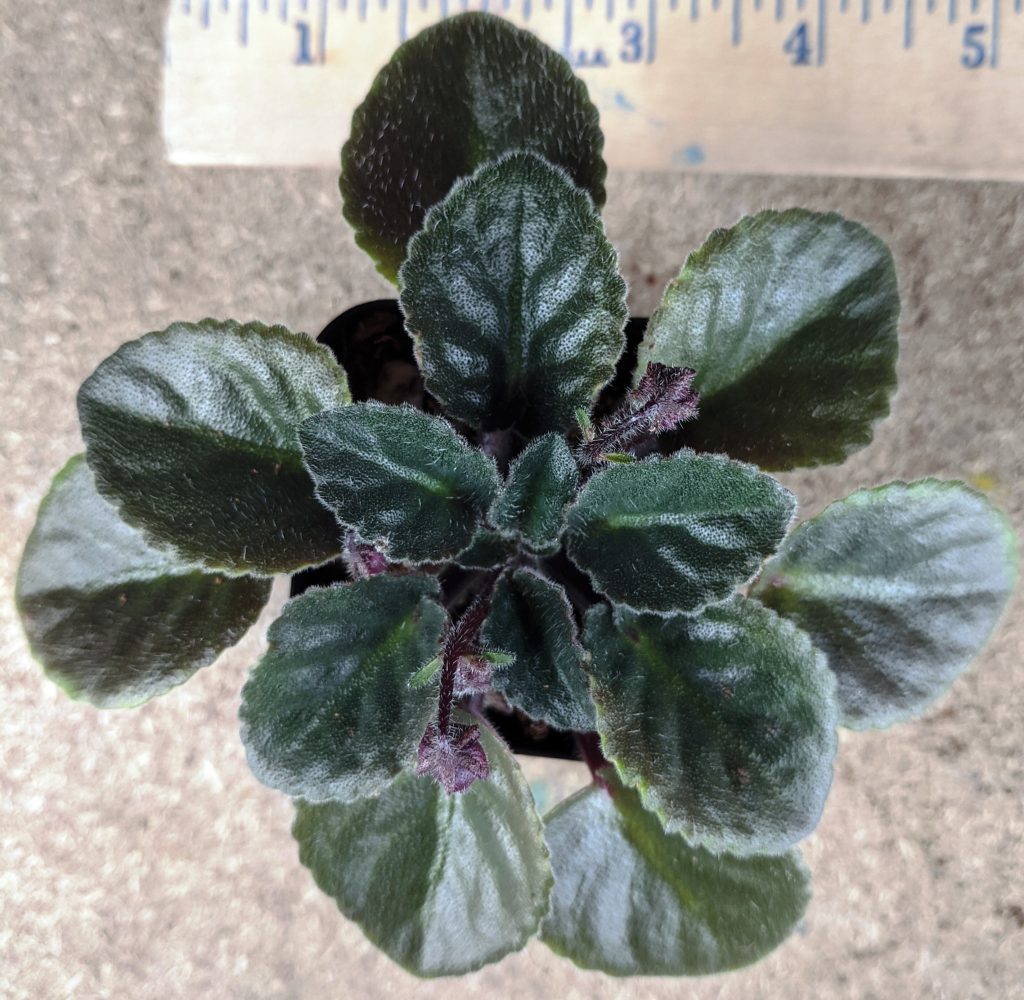
- After 3 months, this violet was well rooted and started growing back healthy.
Example 6:
- This is the plant we will be using to decapitate the African Violet crown stem. It is a small plant.
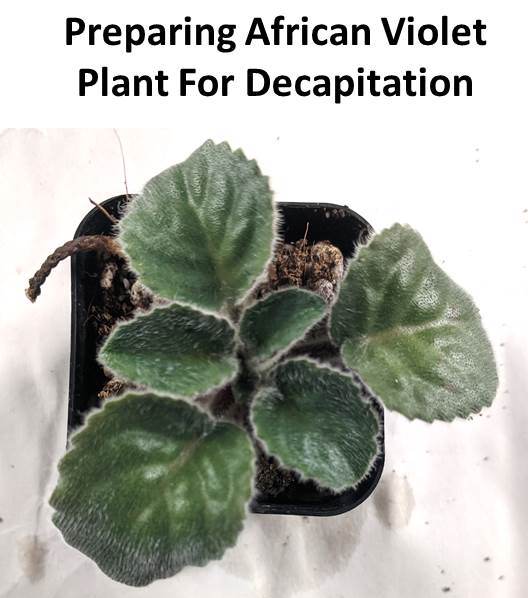
- Go ahead and remove the outer 3 leaves.
- Since we only had a few leaves to begin with, leave behind the 3 larger leaves and the center crown 2 leaves.

- Remove plant- rootball from the pot.
- Remove all soil and roots from the center crown stem.
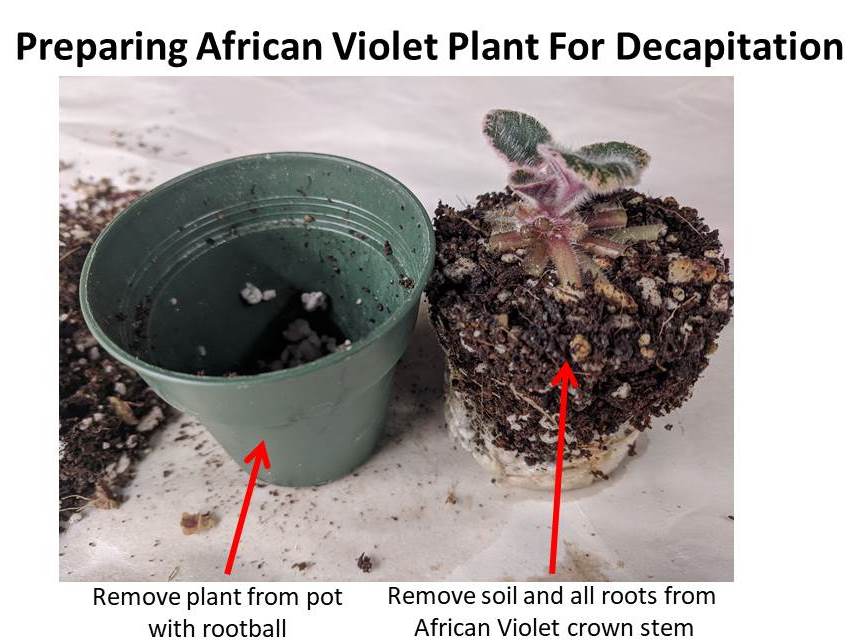
- Then place your separated African Violet crown stem on a fresh sheet of paper.
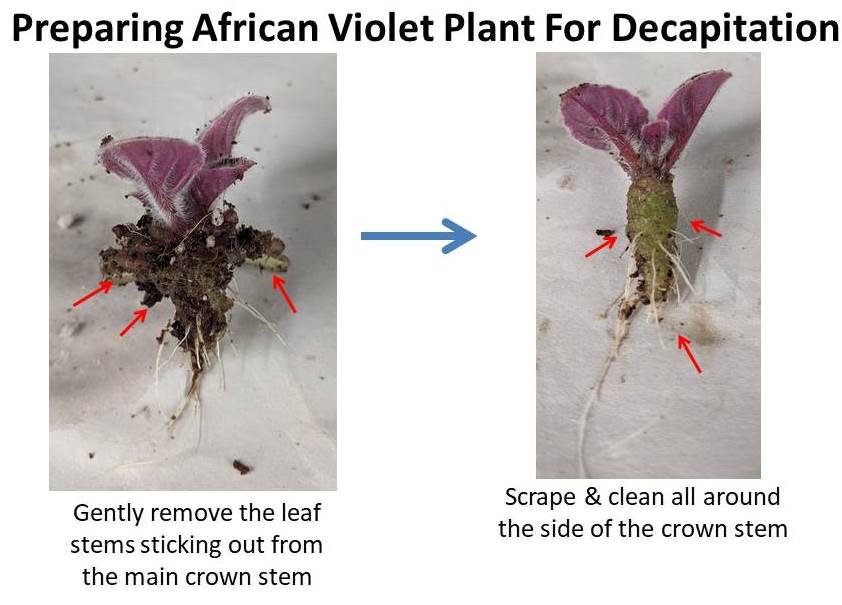
- Go ahead and remove the tiny leaf stems from the main crown stem.
- There are about 8 of these tiny leaf stems. See below.
- Also remove the extra soil bits near the top of the crown stem.
- Now gently scrape the sides of the stem using your fingers or a sucker plucker tool.
- Since the crown stem is small in length, I did a straight vertical cut at the bottom, using a scalpel.
- Spray your scalpel with ethanol, allow to air dry.
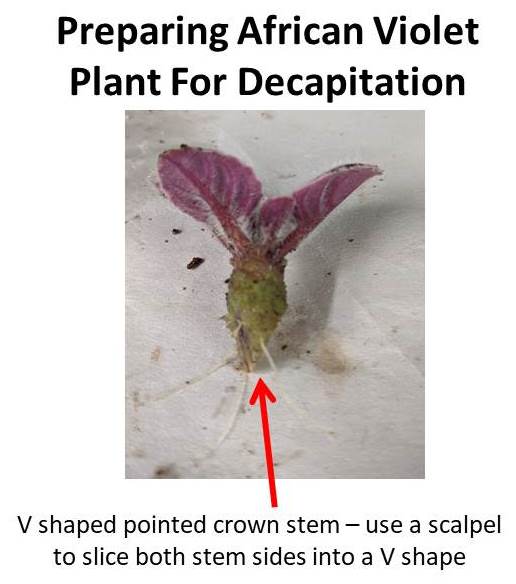
- Finally slice the bottom part of your scraped stem into a V shape. It should be a pointed V. See below.
- Fill up a new pot with fresh soil and stick the pointed V shaped stem into this fresh soil.
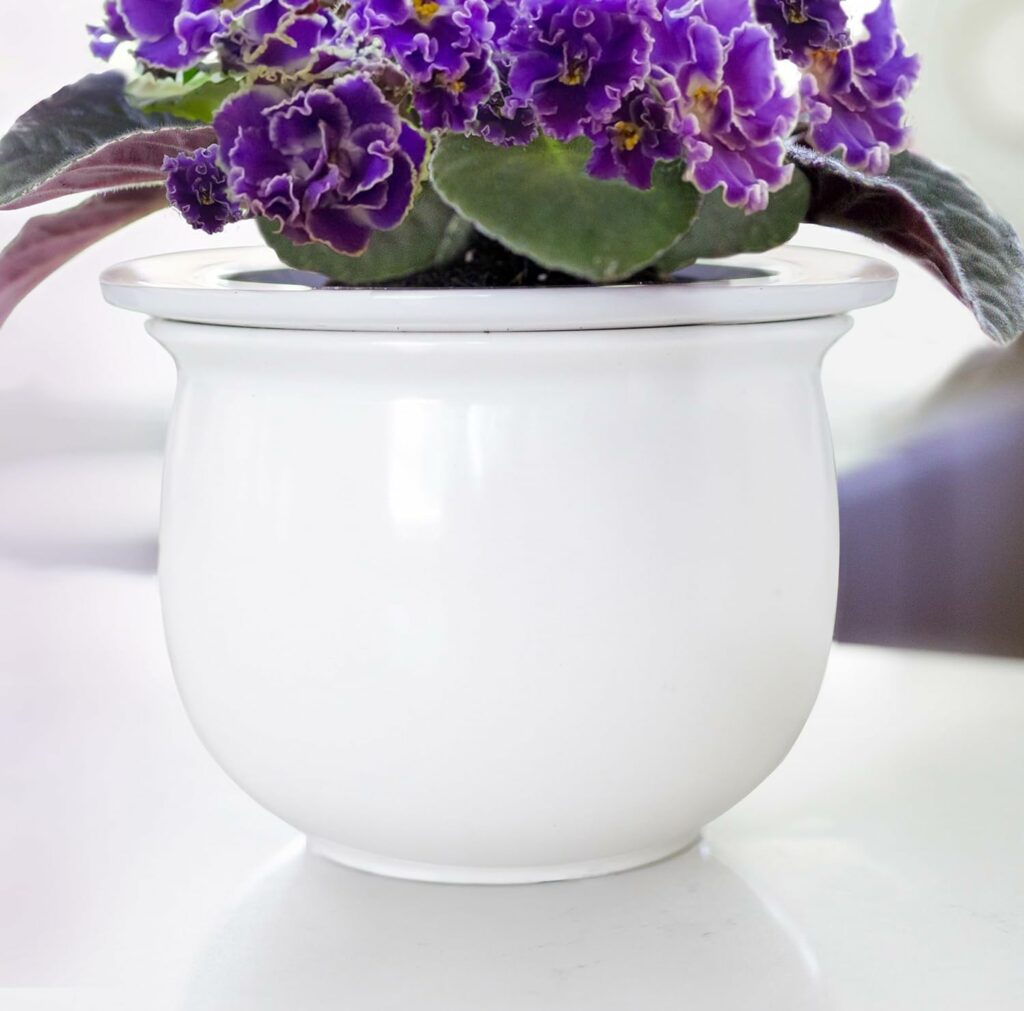
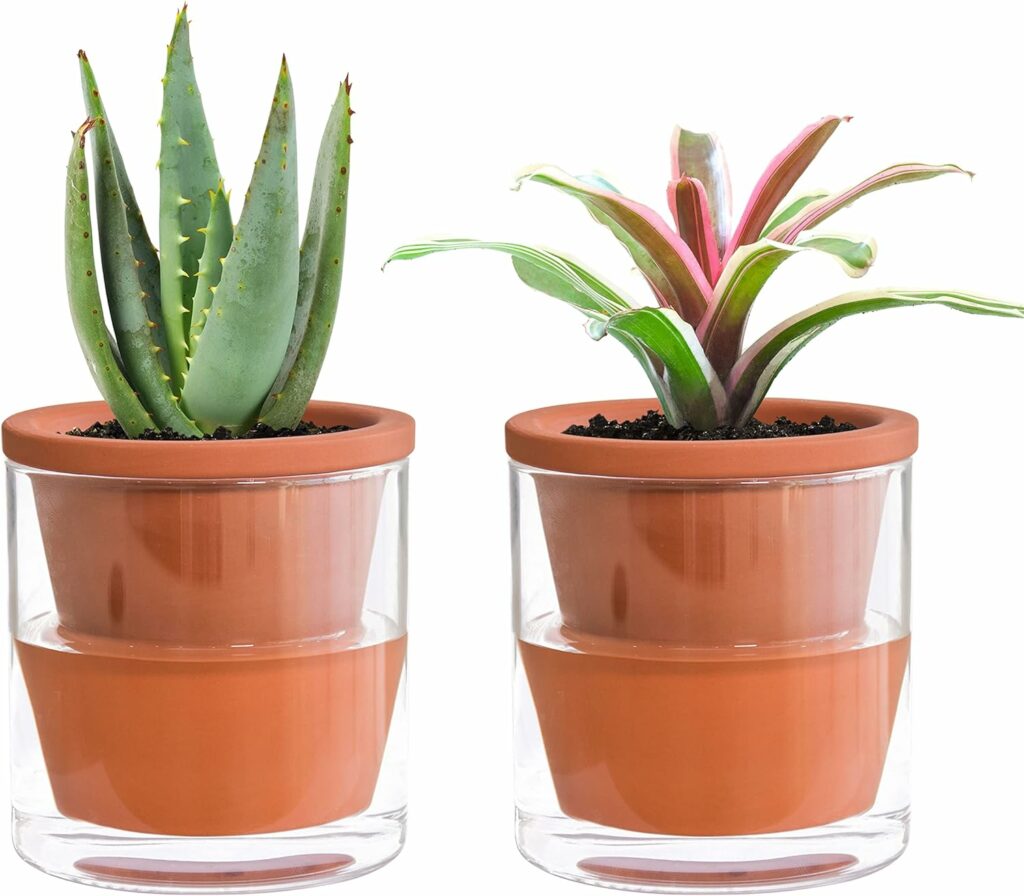
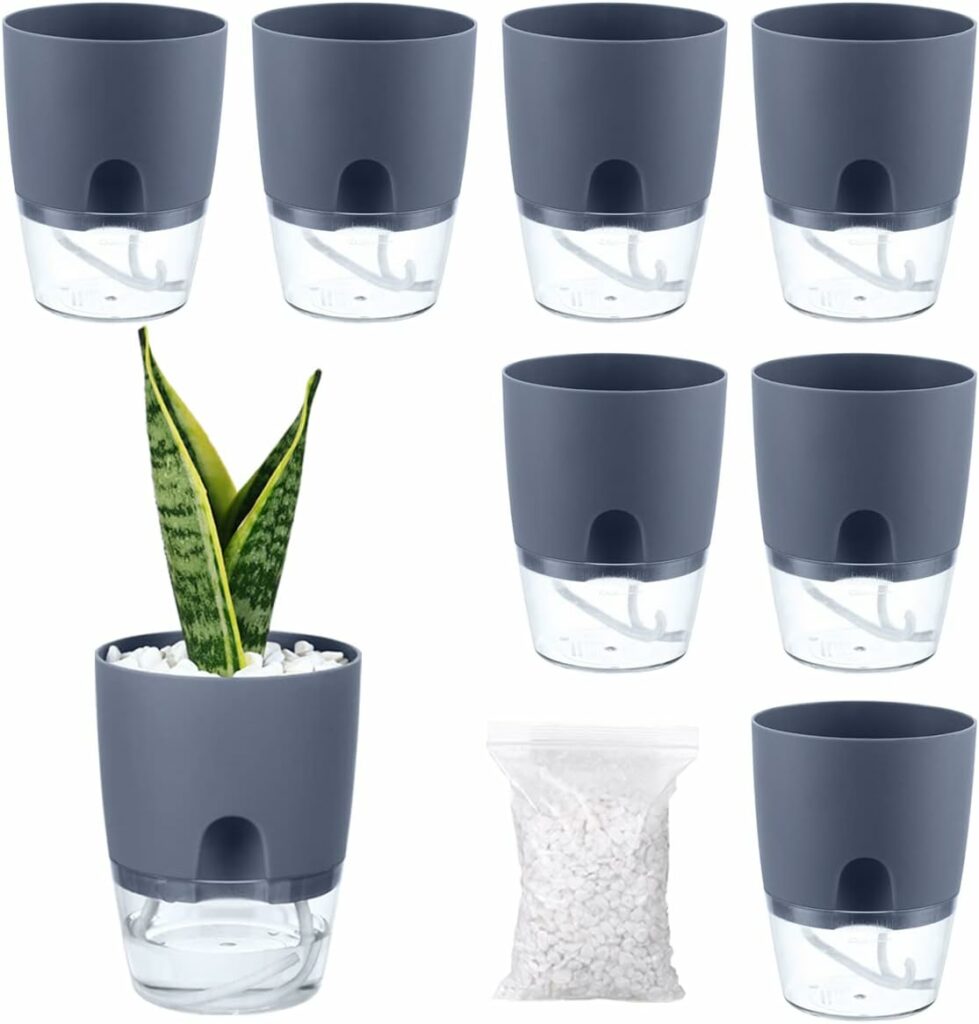
Examples of self watering pots for African Violet plants as shown below:
Example 7:
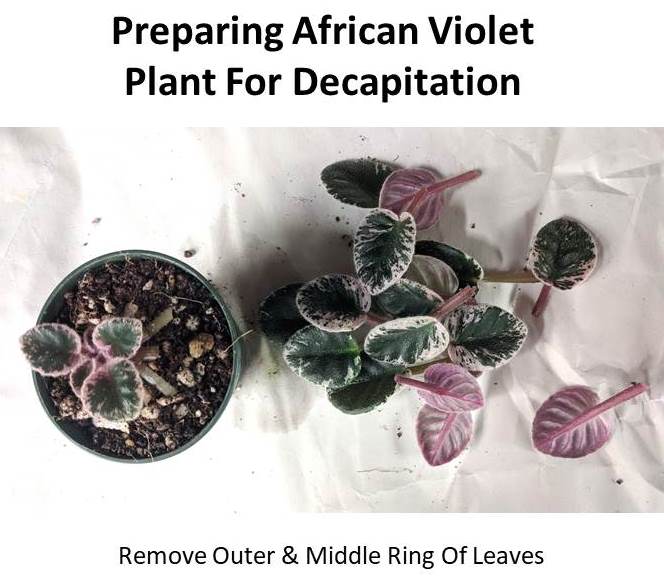
- This is the plant we will be using to decapitate the African Violet crown stem. It is a large plant.
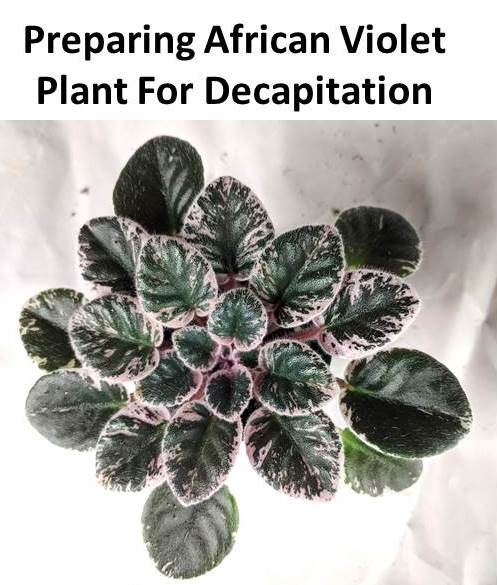
- Go ahead and remove the outer-middle ring of leaves. This will include 3 ring of leaves, totaling around 15 leaves.
- We will leave behind the 3 small center leaves and the tiny set of inner 2 leaves too.
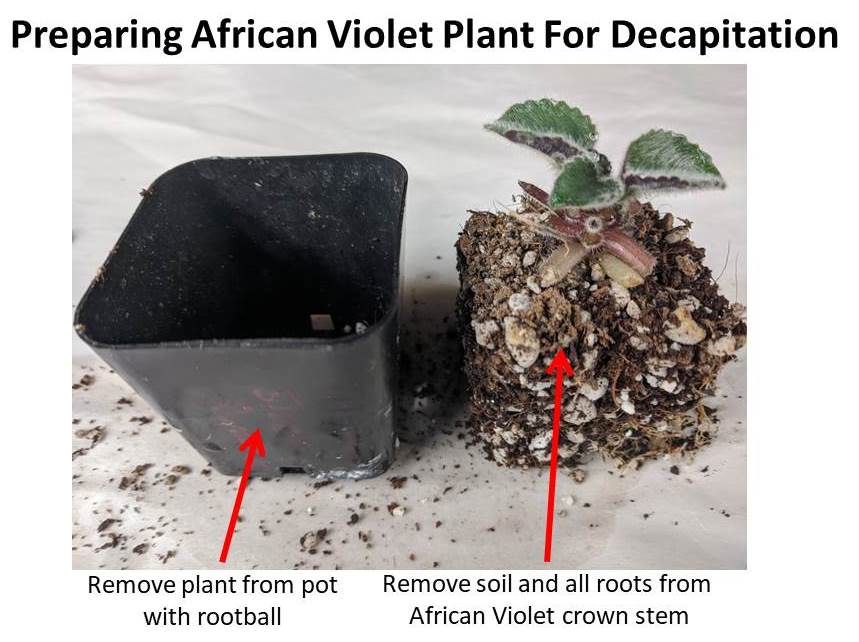
- Remove plant- rootball from the pot.
- Remove all soil and roots from the center crown stem.
- Go ahead and remove the tiny leaf stems from the main crown stem.
- There are about 4 of these tiny leaf stems. See below.
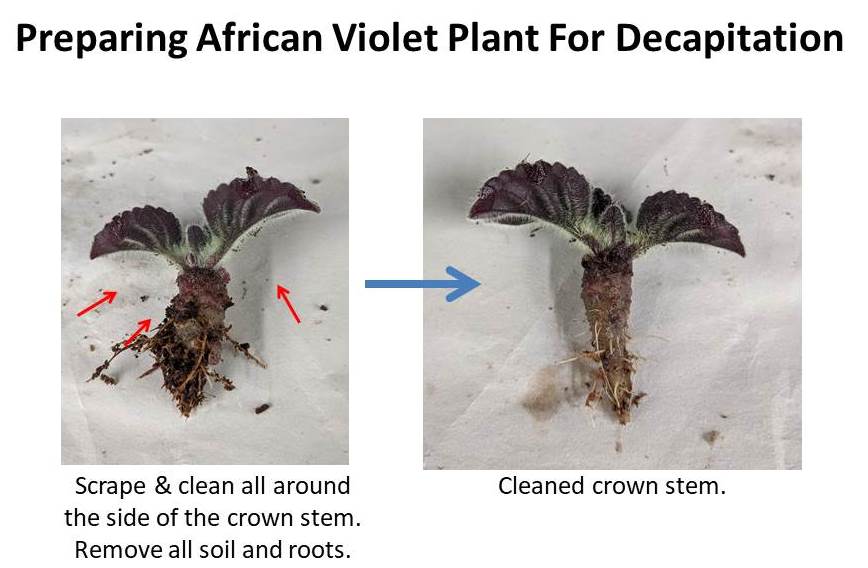
- Now gently scrape the sides of the stem.
- The crown stem here is long in length. I did a straight vertical cut at the bottom, using a scalpel to remove 1cm of the bottom stem.
- Then, spray your scalpel with ethanol, allow to air dry.
- Finally slice the bottom part of your scraped stem into a V shape. See below.
- Fill up a new pot with fresh soil and stick the pointed V shaped stem into this fresh soil.
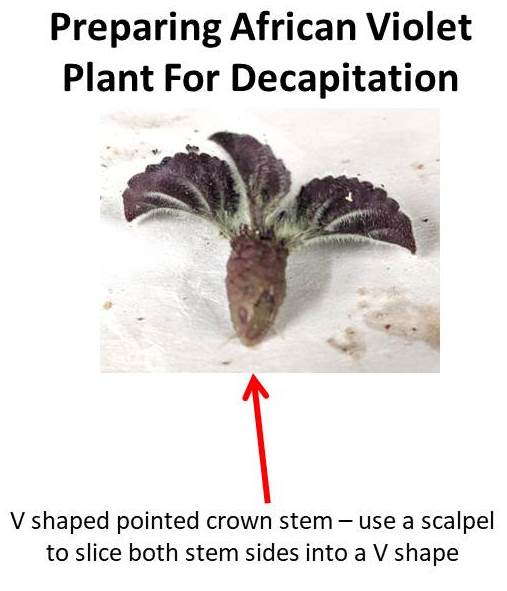
- After 3 months, this violet was well rooted and started growing back healthy.
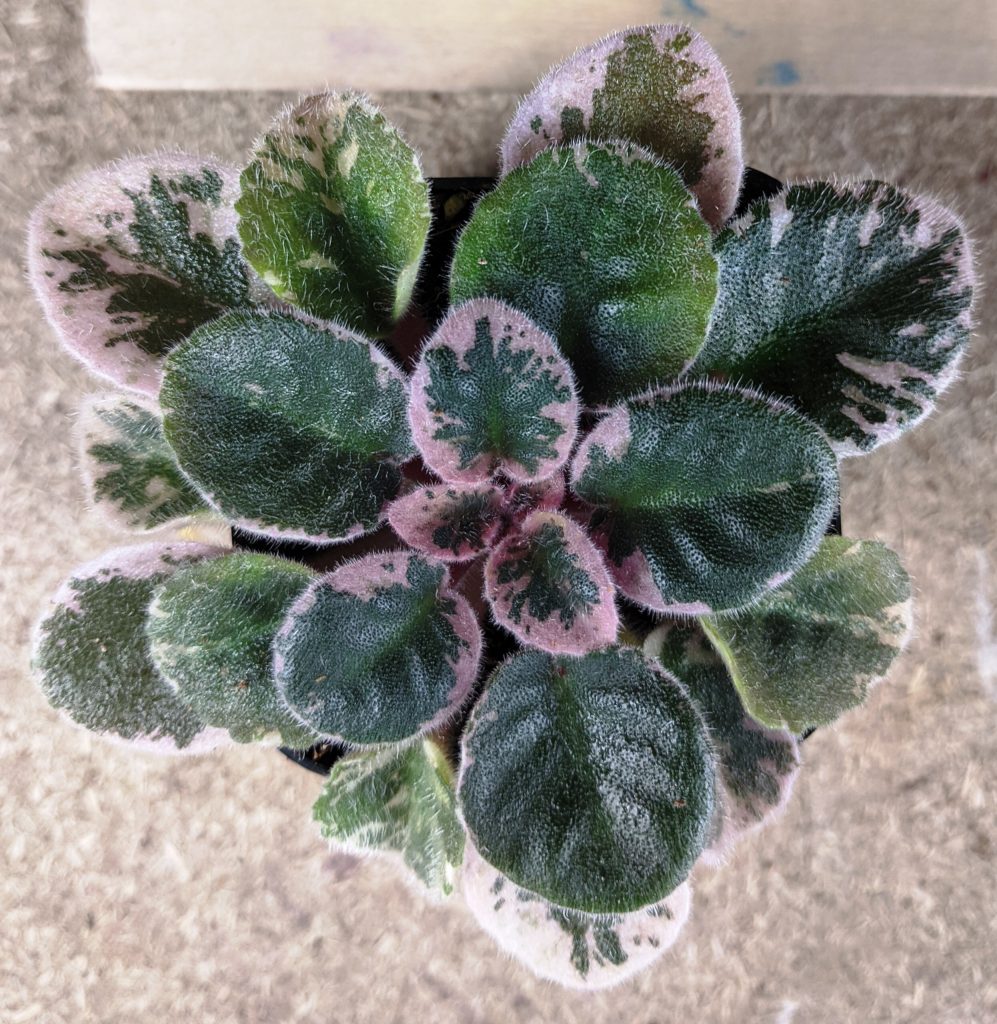
Example 8:
- This is the plant we will be using to decapitate the African Violet crown stem.
- Go ahead and remove the outer-middle ring of leaves.
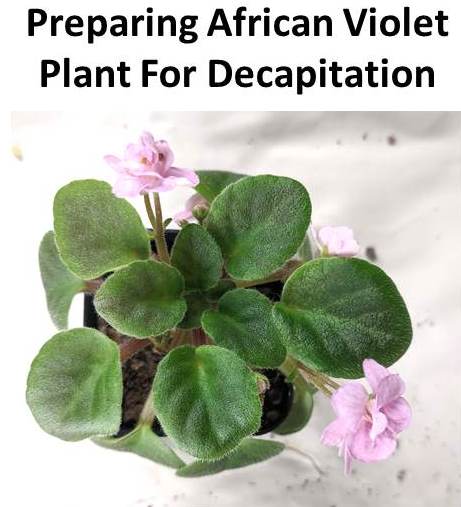
- This will include 2 ring of leaves, totaling around 9 leaves.
- We will leave behind the 3 small center leaves and the tiny set of inner 2 leaves too.
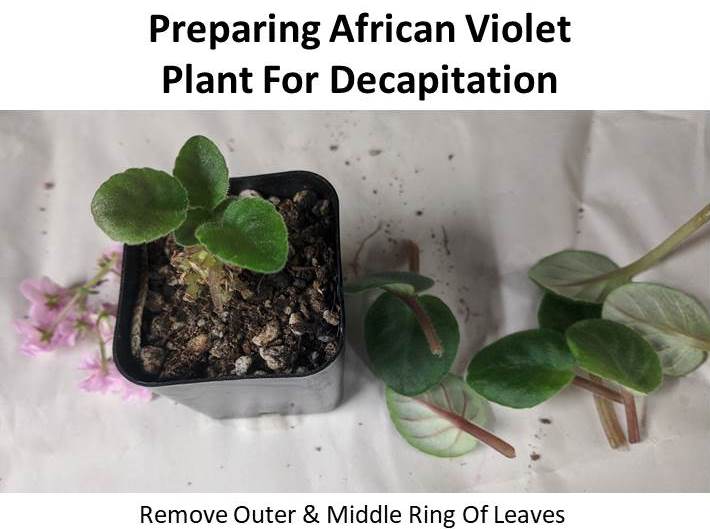
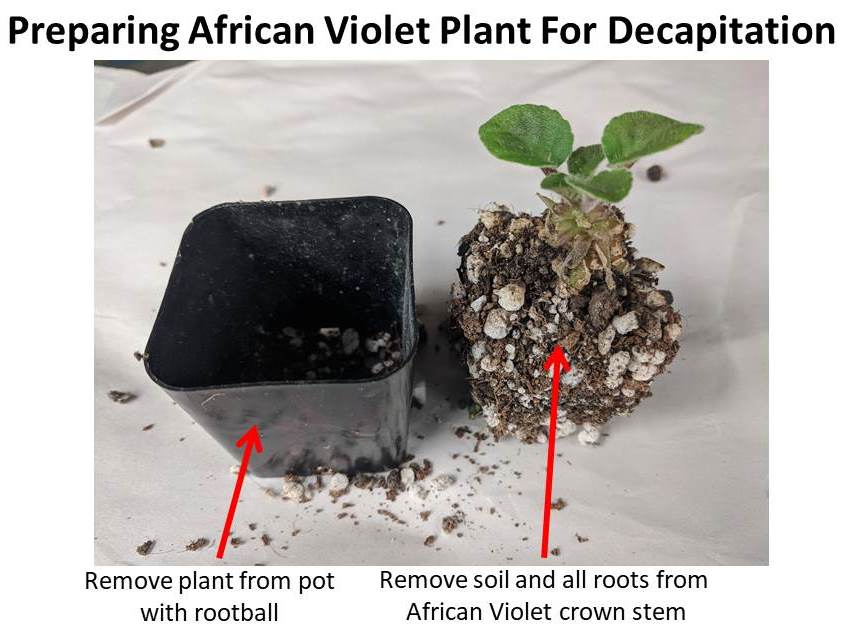
- Remove plant- rootball from the pot.
- Remove all soil and roots from the center crown stem.
- Go ahead and remove the tiny leaf stems from the main crown stem.
- There are about 6 of these tiny leaf stems. See below.
- Now gently scrape the sides of the stem.
- The crown stem here is really long in length.
- I did a straight vertical cut at the bottom, using a scalpel to remove only a little bit of the bottom.
- I didn’t remove too much, as the stem was green in color and it seemed quite healthy.
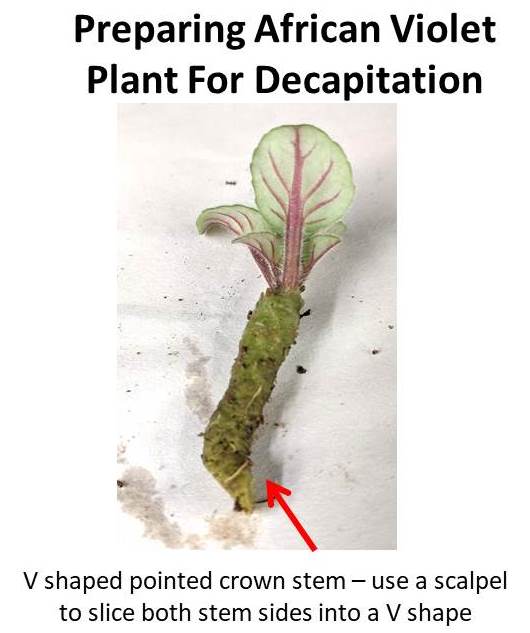
- Once you have sliced the bottom base, spray your scalpel with ethanol, allow to air dry.
- Finally slice the bottom part of your scraped stem into a V shape. See below.
- Fill up a new pot with fresh soil and stick the pointed V shaped stem into this fresh soil.
Here we detailed 8 different African Violet plant decapitation examples. This should give you a broad idea, as each plant is slightly different, in terms of plant size, number of leaves and crown stem size.
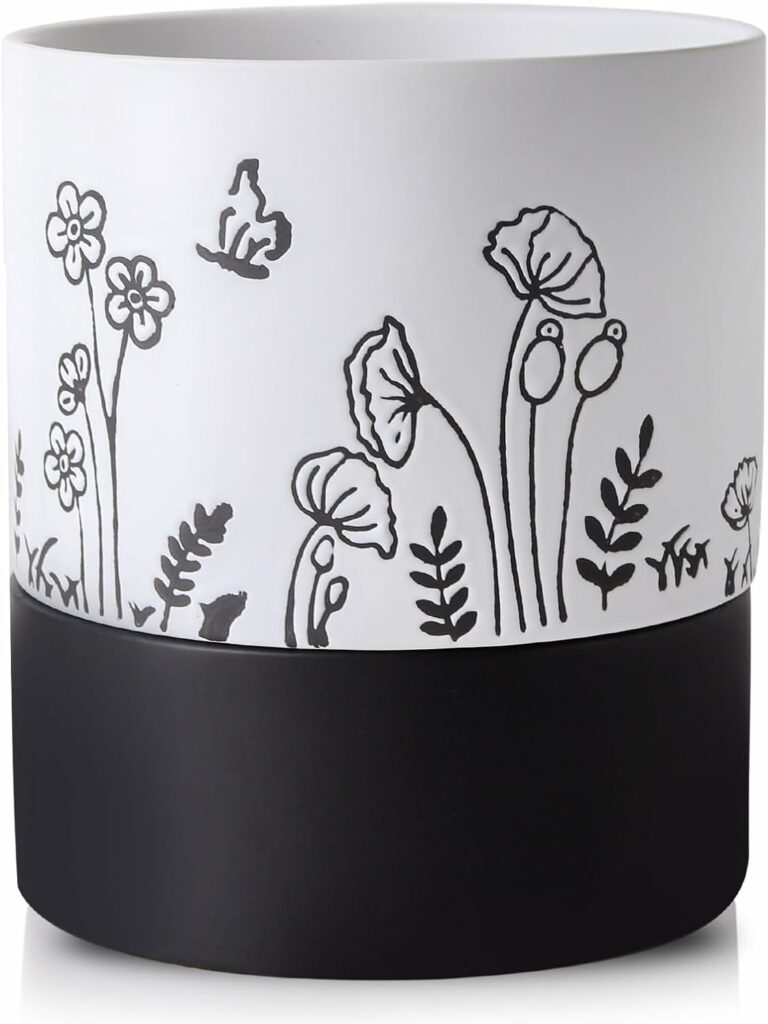
Below are examples of neem oil, ethanol & bleach solutions:

*Our Affiliate Programs: We are a participant in the Amazon Services LLC Associates Program, an affiliate advertising program designed to provide a means for us to earn fees by linking to Amazon.com and affiliated sites.
Though we do link to many items on Amazon out of convenience to our readers, we do also participate in other affiliate programs that also pay us a commission for any purchases you might make through our links (at no additional cost to you!).












Thank you for the various examples…. not all AVs are the same and having examples of different ones helps build knowledge base as we gather our courage and tools to take the plunge!
This is very helpful! Thanks so much. The detail, pictures and range of situations is great!
Is there a version of this process for trailers? I have some that have become weak and skinny at the dividing neck. Can one cut off the root from above that weak area and simply put the fresh cut stem in new potting medium?
Hello Genevieve,
thank you for your question. I actually hadn’t thought of trailers. I think it should work, if you cut off the root as you mentioned. I havent personally tried a trailer. Will keep that in mind, next time I have a large enough one. For now, my trailers are still pretty young. BV
Thanks Cathy! BV
Your information and illustrations are very useful. Thank you.
Thank you Genevieve, appreciate your kind words!
I have four AVs. I have always loved them. A lady I knew had a whole windowsill full of AVs. Well I got my first one two weeks ago. And bought three more. I have them under a grow light with the correct settings for blooming. One site I read said to remove large outer leaves. So I did. Now I find three of my plants have tight crowns. I put the pots in water for 20 minutes and then remove them. I even set a timer. The last plant I bought had been growing in a very cold area of the nursery and in wet soil is now blooming with new buds and seems to be doing well. I have the grow lights 12 inches above the blooms. I will send you a picture
thank you for your message. Glad to hear your recently acquired African Violet plants. I remember you mentioned removing the outer leaves. Yes, you should remove them, only if they turn brown, yellow or are damaged or the leaves are crowded, the center leaves are crowded too and there’s no more space to grow, then its best to remove the outer older leaves. I would not remove any of the outer leaves, first would wait for them to grow out more and to let the plant create more rows of leave (at least 5-6 rows),before I remove the outer leaves. However if I had plants like this one, I would remove only 3-4 outer leaves, as the center leaves are getting crowded and the outer leaves are overlapping slightly. With regards to tight crowns, that could be increased light causing the crown leaves to curl inwards, you can reduce the number of hours of light, the distance of light or place a paper tissue on the plant for 2 weeks, to see if the crowns open up. Sometimes, over-fertilizing can also lead to tight crows. You may have mites which can also lead to tight crowns, but that has to be accompanied by grey-ashy colored center leaves and brittle crunchy leaves too. For the flowers, its ok if they are not growing from the center, they usually originate from the space between the two leaves. Once they start growing the flower stalk longer, they will push their way out from underneath the leaf. If you still notice them hiding, you can gently tease the bloom stalk out from under the leaf and it will start growing fine. Hope this helps,
regards,
BV
I love all “My Baby Violets”. I love unique AV’s as not the usual colors. I think they’re more finicky to grow. Thank you on all this great information. I know where to go for my AV problems. Now I need to let go of my nerves and handle my babies.
Thank you once again.
Thank you Sheree, for your kind words!. Glad to be of help.
regards,
BV
Hi I’m at a loss if I need to replant my AF to a larger pot. They all will bloom but I’m concerned that they might stop blooming if I transplant them also can I transplant them into one large pot or do they not do well doing this and will one color take over.
I have photos to show you.
Thanks,
Karen
Hello Karen, thank you for your message. Yes, please send pics to me at babyvioletss@gmail.com, I can take a look. regards, BV
Babyviolets
I aquired 2 old neglected AV. Very long stemmed, solid but slightly green leaves from a north window.
I’ve taken your advice and taken 4 stems of each plant and put in water under red blue 5500 k lights. Timer on 16 hours as I do Gloxinias also.
As per your instructions. I tore down both plants to crown, V’ d em with a touch of rooting hormone, planted in 2″ pots and into opened bags. Soil had a lot of moisture.
Am I to close the bags up when I see condensation has decreased?
Just a hint. I use mason jar screw tops under pots so they don’t sit in water but are surrounded by humidity. Works well.
Hello Bill,
Thank you for your question. Yes, everything you have done sounds good. Yes, you can close the bags once the condensation has decreased on the bag walls & the soil seems slightly moist & not wet. You can also use a paper towel and wipe the extra condensation, water droplets, moisture from the inside of the bag. If its already been a month or two- you can open up the bags & leave them open for a few more weeks, before removing the pot from the bag and onto your shelf. Hope things work out well. Regards, BV
I have followed your directions and capitated my violet, but had a few questions. When in the zip lock bag, what type of conditions does it need (ie. Indirect sun, shade ?). Also, when leaving it in the bag for 1-2 months, will it need to be watered at any point?
Hello Marty, thank you for your question. You can keep the ziploc bag in indirect sunlight. Most probably condensation will occur and the plant will receive water. If it does get bone dry, yes you can water a little bit. Can check every 2 weeks. Hope this helps, regards, BV
Thank you for this article. I have three African Violets that are very old, that I recently took leaf cuttings and have tiny babies growing, but I really didn’t want to dump my old neglected plants. Using this method I hope to restart them and be a better AV parent. Thanks Again!
I have older AVs that have developed long stems (goose necks) which I can see above the soil line. They are healthy and in bloom. Should I employ the decapitation method or simply push the plants deeper into the soil? And should I wait until they stop blooming to decapitate? I’m afraid of killing them. Also, If I decapitate – do I follow the zip lock bag procedure?
I have one blooming AV that may have root rot because the lower leaves are wilted and it’s progressing to each layer of leaves, even the crown leaves are slightly wilted but it still have blooms and buds!. I followed your decap method and it’s now repotted with fresh dry soil and in a sealed zip lock bag – hope it thrives. Did I follow your procedures correctly
What causes AVs to develop a long, curved stems and lean in one direction? How do I correct it? Do I move it into a larger pot or decapitate?
Hello Victoria,
thank you for your question. Yes, you can go ahead and re-pot the long stem, so its deeper into the soil. Just make sure the last row of leaves are just slightly above the soil and the long stem is pushed inside. If you do decide to decapitate the plant, yes you can wait for it to stop blooming or can remove all the blooms. Yes the zip lock bag procedure should work well, it has worked for me in the past. If its too hot or too much condensation develops in the bag, you can open up the bag and wipe it down, sometimes if the soil is too wet, it can lead to the stem getting rotted, that’s the main thing to keep an eye on when putting the plant in an enclosed bag. Hope this helps, regards, BV
Hello Victoria, thank you for your message. Yes, it seems like you have followed the procedure correctly, best of luck with the re-growth. To confirm root-rot, wilting of leaves are seen, however, you can also check the stem/neck to see whether it brown, soft or mushy, that can also be a sign of root rot, also the roots will look dark brown, soft and limp too. The long neck of AV’s happen over time, especially with older plants (4-5 years), if they havenet been re-potted in a while or if the pot hasnt been rotated regularly. If the plant keeps receiving sun only on one side, it will tilt and face the light in only one direction and then the neck / stem will become turned too in that direction. If the plant is rotated every few weeks, the neck will grow upright. If it still develops a neck after rotating, then yes you can re-pot in the same size pot. Just remove extra soil from the root ball, can cut the roots ball slightly at the bottom, if its too big and then re-pot the plant in the same size pot. If the neck is too long and it doesnt fit in the pot, then you can re-pot in a larger size if there are still 3-4 rows of leaves. If you have a long neck, but only 1-2 row of leaves, then you can consider decapitating it and then re-potting in a smaller sized pot. Hope this helps, regards, BV
Thanks BV for the quick response. On the suspected root rot AV that I decapitated per your instructions – when I removed it from the soil the bottom of the stem was mushy but I didn’t see any roots emanating from the stem. Do AVs not have noticeable roots?
Hello Victoria, yes the AV’s should have roots. If there were no roots, and the bottom stem was mushy, as you mentioned it seems like root rot and the roots did not survive. If you have cleaned up the stem and sliced off the mushy part, you should start to feel roots in 4-6 weeks, once the stem feels anchored in the soil and not loose. Hope this helps, BV
Well when I decapitated the ailing AV the crown leaves and blooms and repotted in dry fresh soil. I housed in a zip lock bag so there was no condensation, but then I noticed one of the blooms had a white, cottony growth on it, perhaps a fungus? I removed it and noticed the soil was dry so I slightly watered the pot and opened up the zip lock bag. Sadly, the AV continued to wilt up to the center and then expired. I thought it originally had root rot because every row of leaves from the bottom up started to droop and wilt except the very crown and blossoms. The stem end was brown and mushy which I cut off but I didn’t see any roots protruding from the stem. The AV is totally shriveled up. What did I do wrong that the stem didn’t produce new roots?
Update: This was a 4″ potted AV but after removing all the leaves it’s reduced in size to a 2″ potted plant. I was ready to discard it so I removed the plant from the 4″ pot and checked the angled cut stem end and also scraped the stem. Well it’s still green! And the soil was moist because I thought it need watering. Can this plant be saved in it’s current condition and what should I do? Should I re cut the end again? Also, when the plant is in the closed zip log bag after decapitation, should the soil be totally dry?I didn’t think it could survive without any water.
Hello Victoria,
When decapitating, its best to remove all the blooms, yes it sounds like powdery mildew or fungus. Yes, you are correct it does sound like root rot if the stem end was brown/mushy. If you cut it off, it may still have spread after it was decapitated and caused root rot to the remaining stem too. That may have caused the remaining leaves/plant to shrivel up too. Sounds like the root rot may have damaged the plant to an extent that it could not be saved :(, happens sometimes. BV
Hello, if its still green, then you are good to go. Give it another 4-6 weeks to develop roots, yes you can water slightly, the soil shouldn’t be totally dry. BV
I will be decapitating AV plant that has about 6-8″ long neck. The leafs look wilted, I assume that it has root rot, And the container is too large, I assume this is what caused the rotting. This is the first I have heard of cutting the stem in a V shape. What is the reZon for this? Since the leafs are wilted will I be able to start another plant?
Hello Charlotte,
thank you for your question. By cutting the stem V shape, there is more surface area for the roots to grow from the cut ends. When the V shape is formed, you are stripping away the outer stem layers from both sides of the stem. As a result, roots can form from either side of the stem. Yes you can try to start another plant even though the leaves are wilted. As long as your stem is still green and not rotted/soft/mushy or brown in color, you should be fine. Hope this helps, regards, BV